Atomic Heart: Testing Ground 11/ Polygon 11
This guide shows the complete walkthrough of Testing Ground 11/ Polygon 11 in the Atomic Heart game. Check the link posted below for a video walkthrough.
How to enter Testing Ground 11
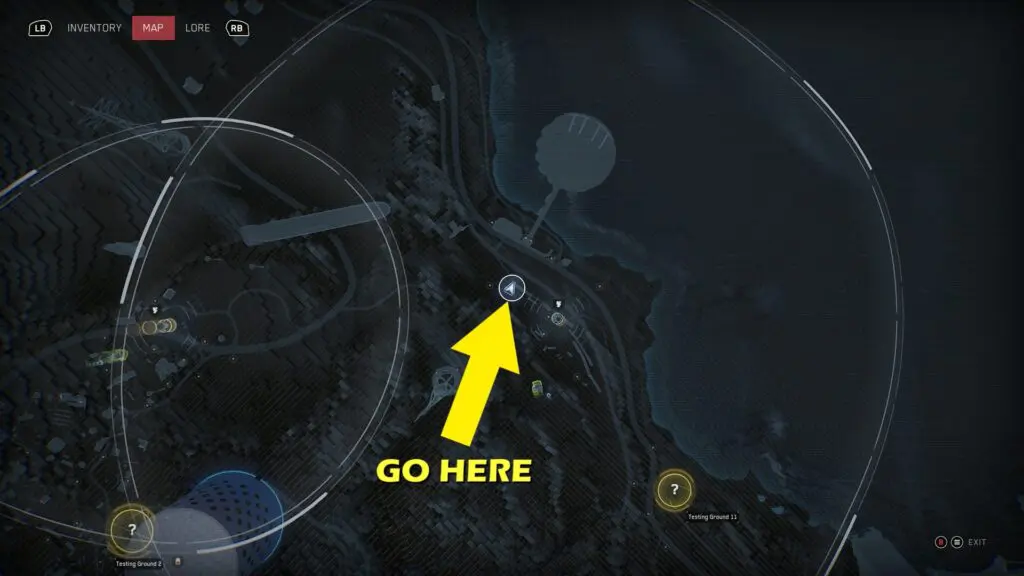
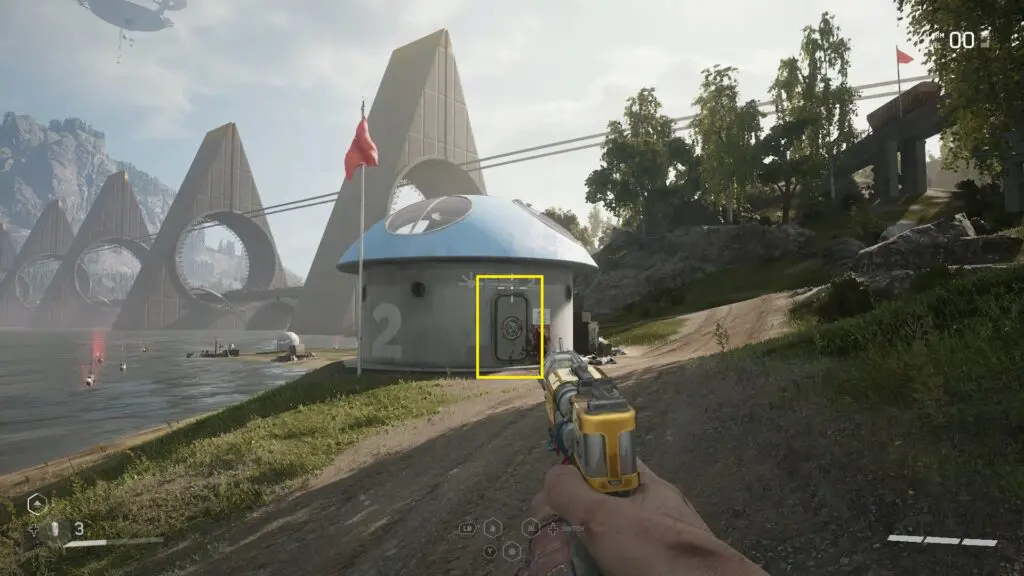
Go to the location shown in the picture below and climb to the top of the tall tower there to find the Volan.
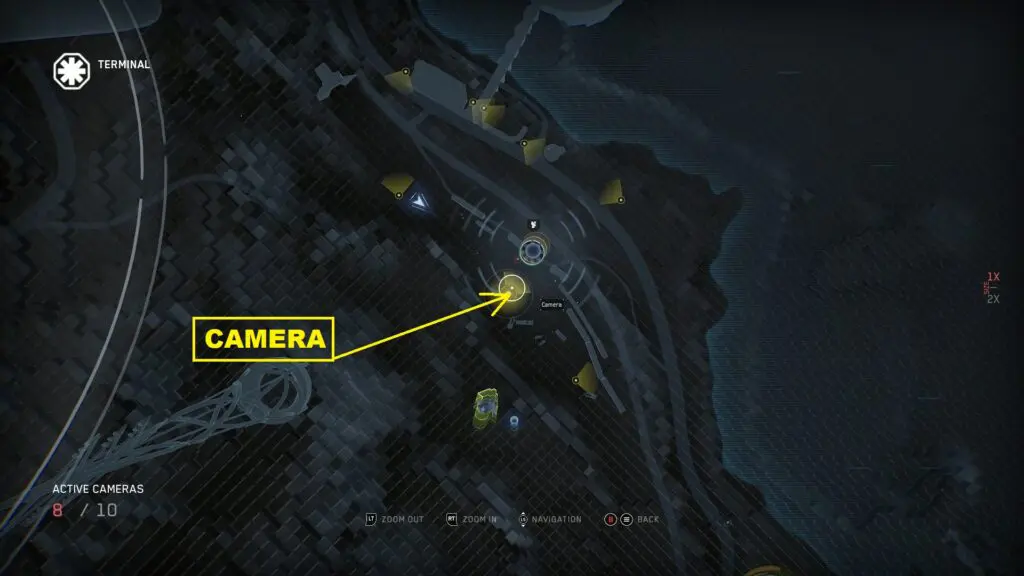
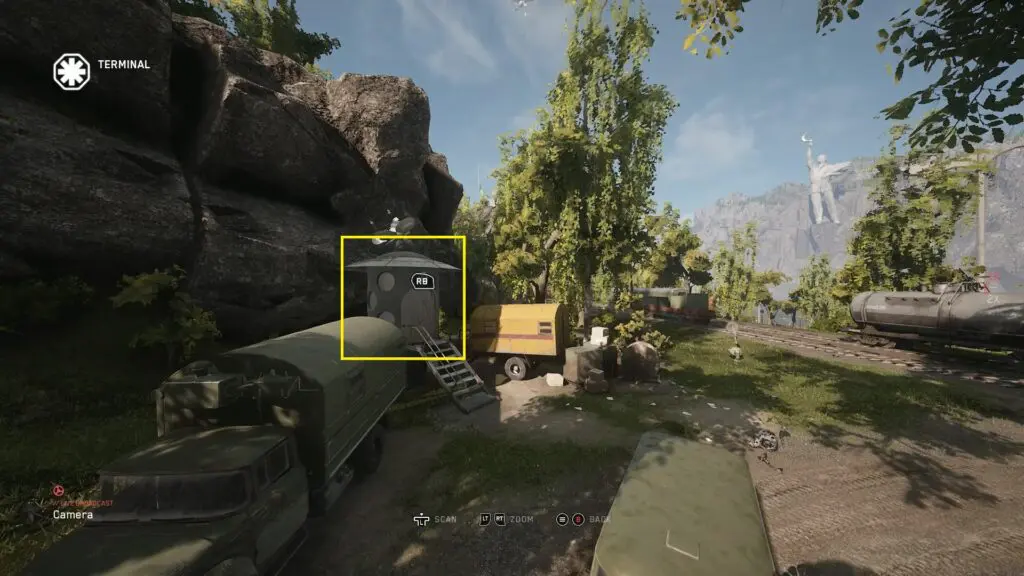
Interact with the Volan and use the camera to open the door as shown in the pictures below.
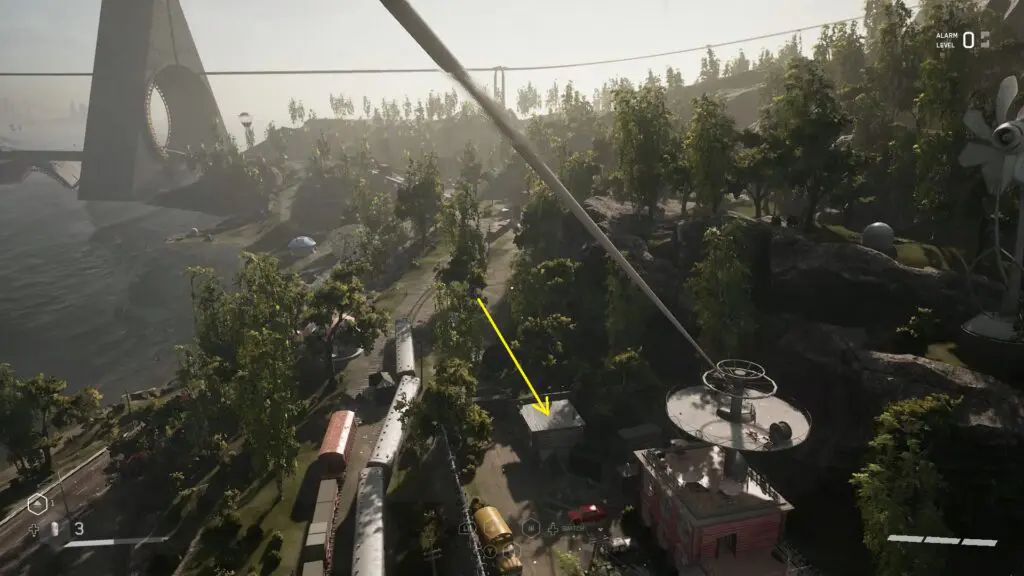
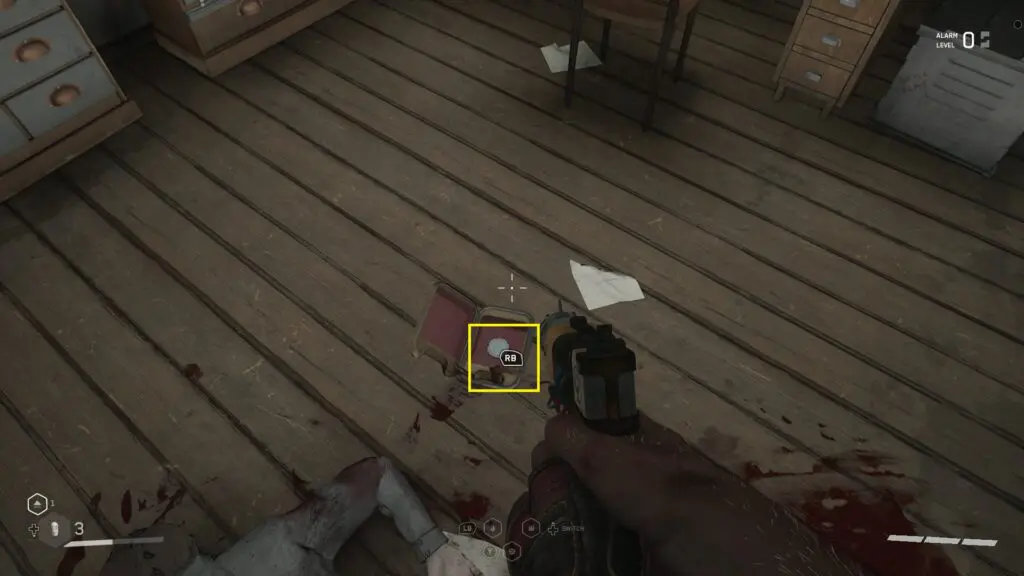
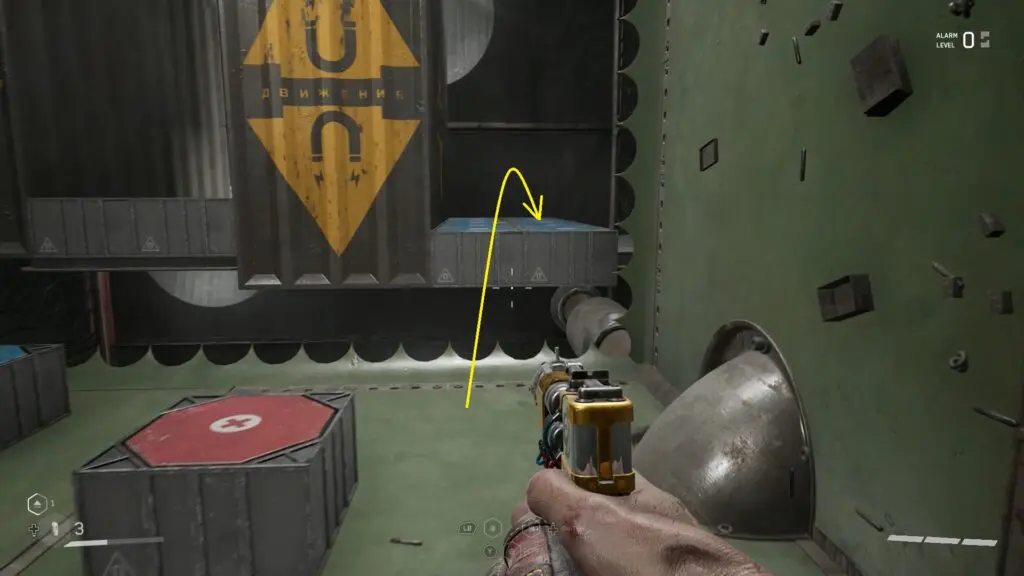
Climb down the tower and go inside the door that you opened before. Interact with the terminal there and initiate Hawk Maintenance. When the Hawk comes down, quickly grab its pole and go up. Then use the zipline to reach the tower as shown in the picture below. Climb down from the tower and go to the house in the corner of the compound as shown with a yellow arrow in the picture below. Open the lock to enter the house and get the Key Disk as shown in the second picture below.
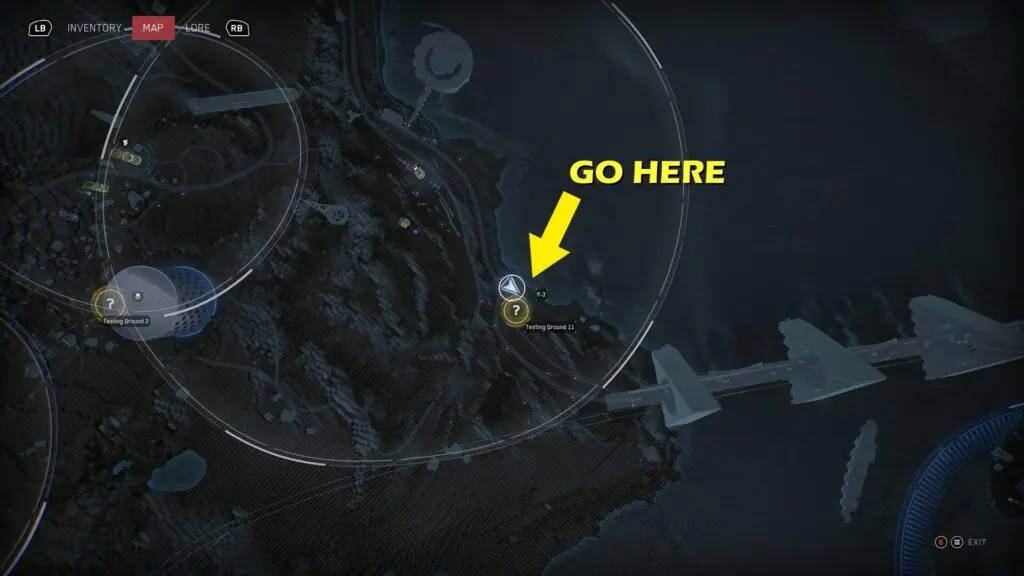
Once you have the Key Disk, go to the location shown in the pictures below and use it to open the locked door. Then take the elevator down to reach the Testing Ground.
Bronze Chest
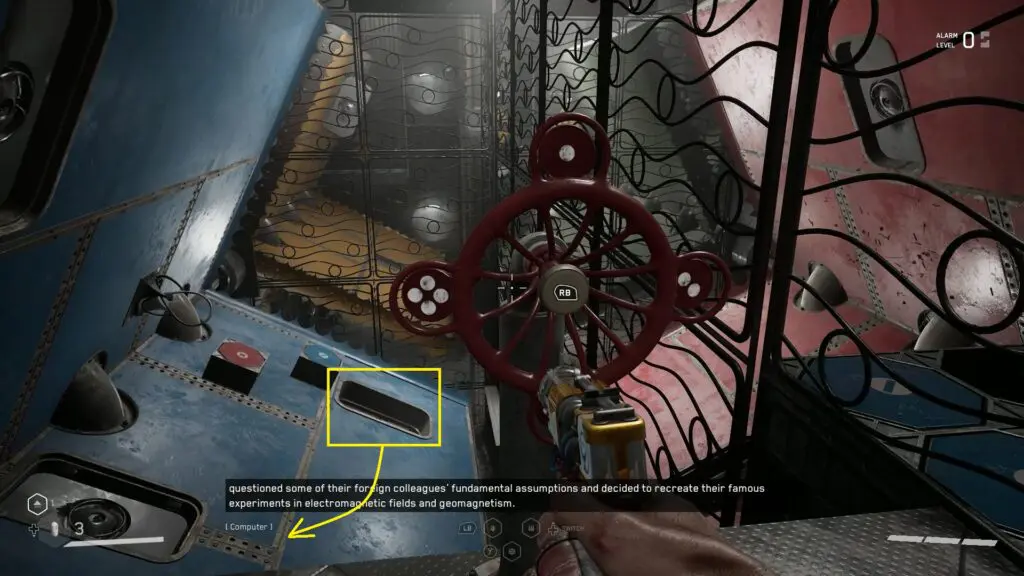
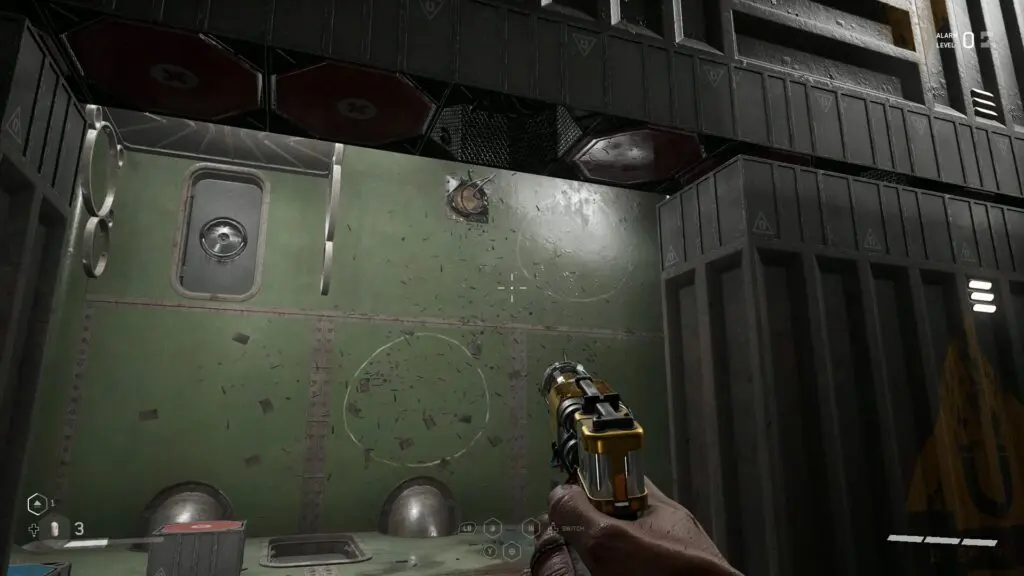
Proceed ahead and you will reach a puzzle room. Rotate the red wheel until the diorama with the open door goes down as shown in the picture below. Then jump down through the gap and go to the other side through the open door of the diorama.
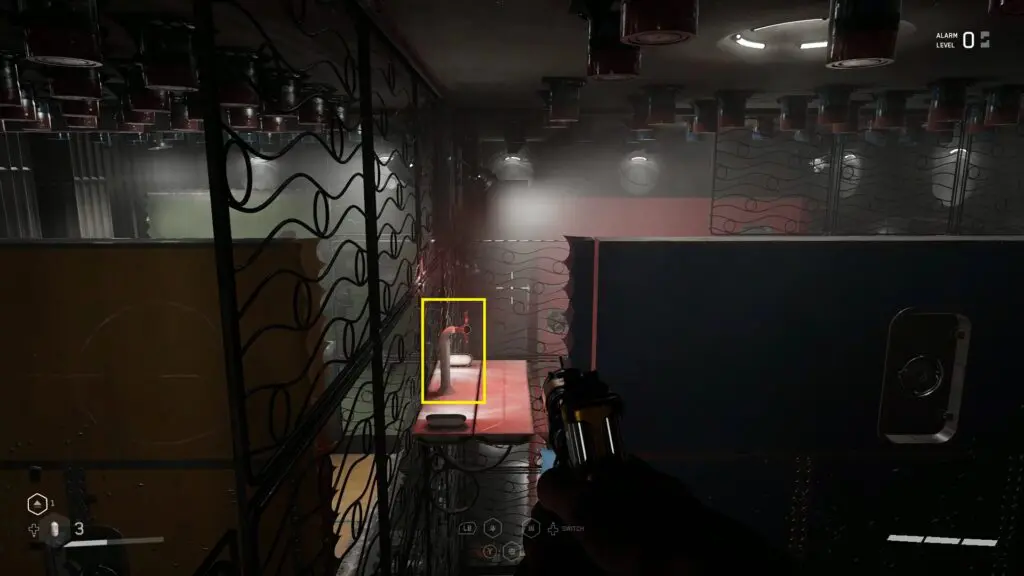
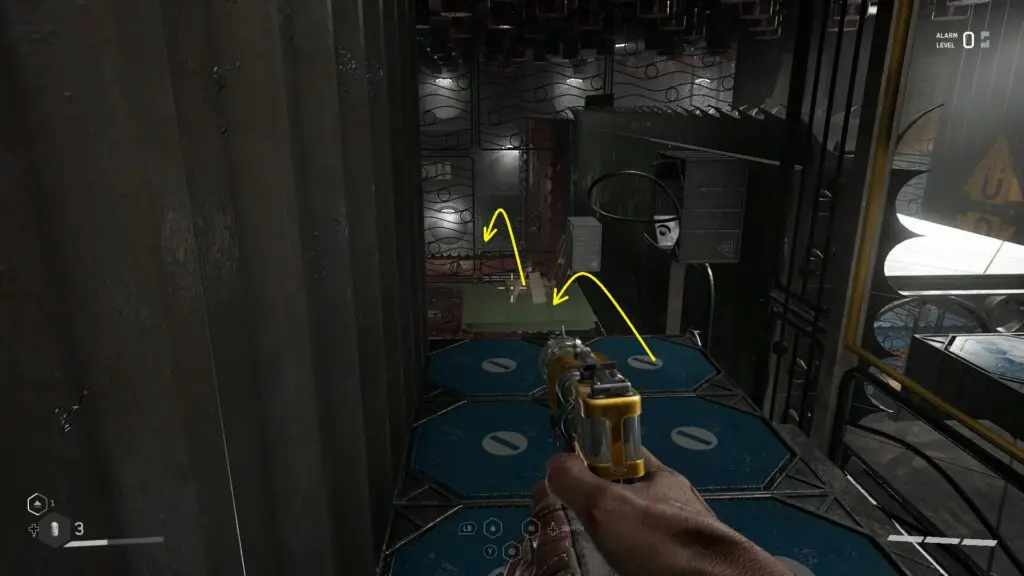
Use shock on the roof there to bring the platforms down. Then climb up the platform in the corner. Use shock on the roof again to move the platform up. Now jump down and go to the magnetic wall ahead. Stand on the magnetic wall and use shock on the roof to move the magnetic wall up. From there, jump to reach the red wheel as shown in the picture below. Rotate this wheel until the diorama with a red wheel appears as shown in the second picture below.
Use shock on the roof and go back to the magnetic wall. Use shock on the roof again to move the magnetic wall up. Then walk on the magnetic wall and jump down to the diorama on the other side. Jump further down from the gaps. Then go to the other side through the open door of the diorama. Stand on the platform there as shown in the picture below. Then use Shock on the roof to move the platform up. From there, jump on the diorama with the red wheel.
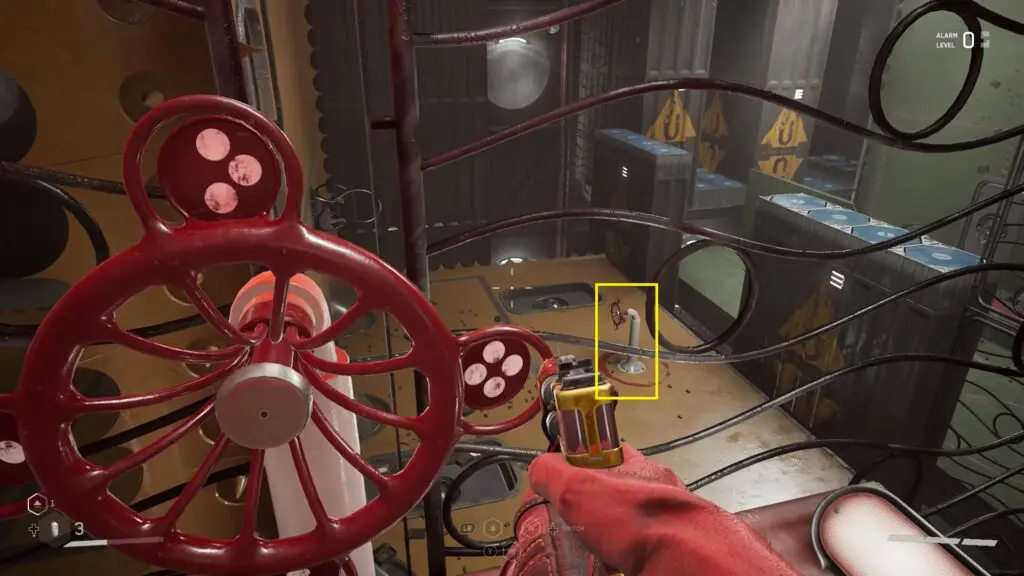
Rotate the red wheel until the diorama in the front changes to as shown in the picture below. Step on that diorama and climb on the platform on the left side as shown in the second picture below. Use shock on the roof to move the platform up.
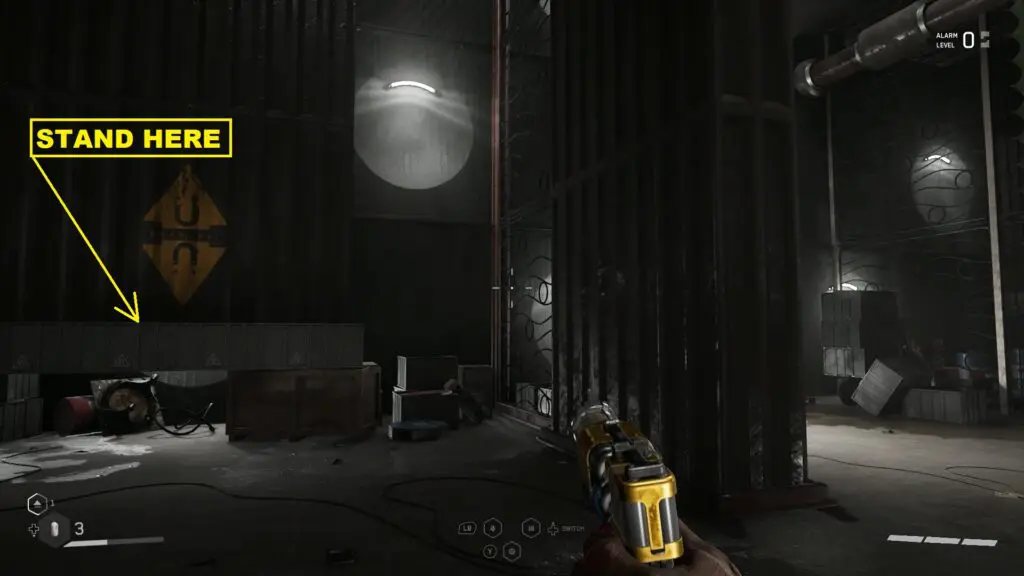
After reaching the top, step on the platform next to the one you are standing on. From there, jump on the green platform ahead as shown in the picture below. Then jump through the opening in the grille wall to reach the other side. Jump further down from the gaps. Then go to the other side through the open door of the diorama. Stand on the magnetic platform there and use shock on the roof to move the platform up. Then walk through the door and go straight ahead to reach the bronze chest. Open it to get Kalash – Expansive Converter blueprint.
Silver Chest
Proceed ahead and you will reach a room with two frozen boilers. Pick up a ball from the left side of the room and insert it into the pipe next to it as shown in the picture below. Then guide the ball to the boiler.

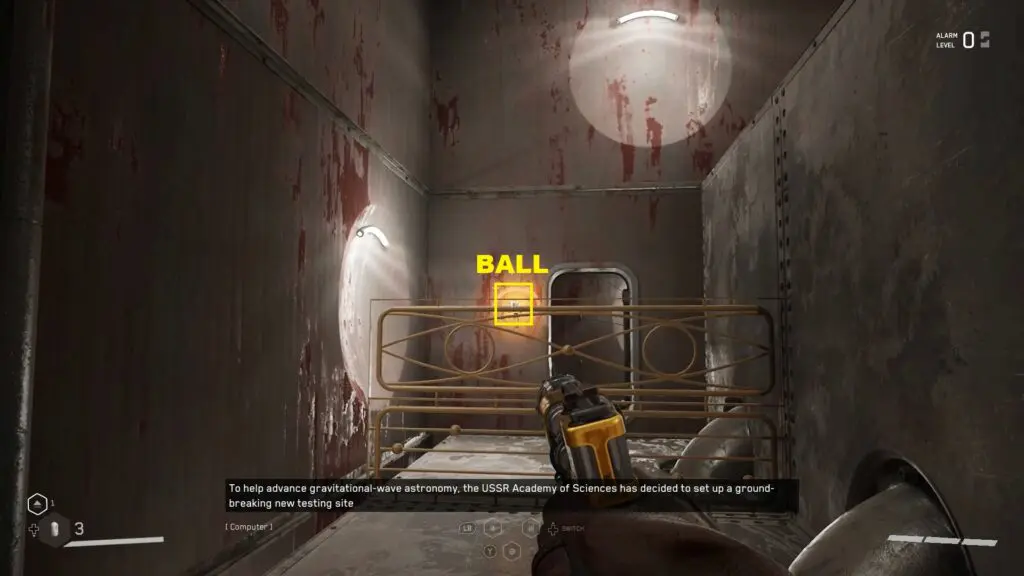
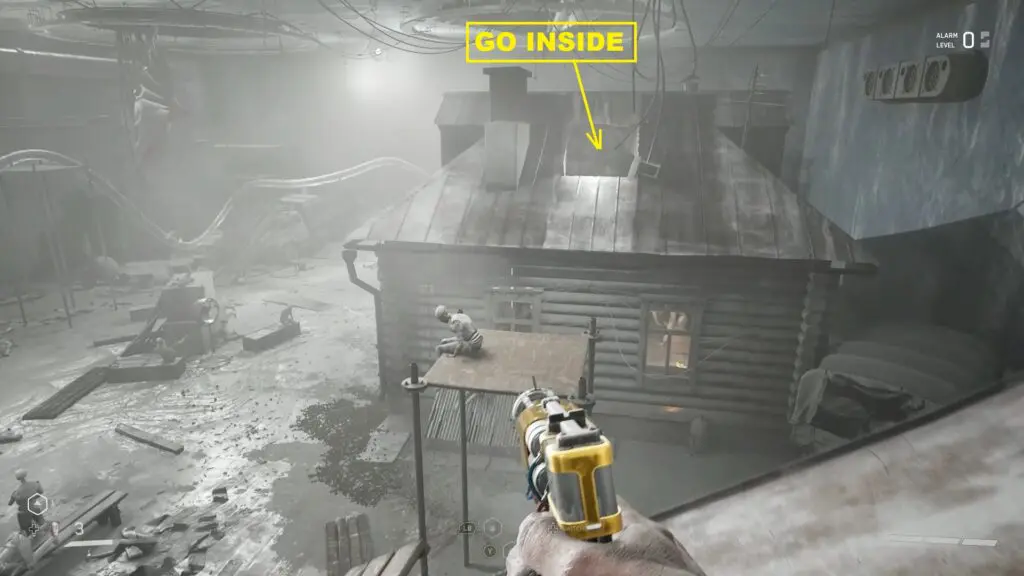
Use the wooden platforms in front of the house to climb the roof. Then jump to the house with a hole in the roof as shown in the picture below. Use the hole to get inside, where you will find another ball. Pick up the ball and insert it into the pipe above it. Then guide the ball outside the house. Open the puzzle door and exit the house. Then guide the ball to the boiler. This will open the large gate as shown in the second picture below. Go through it to reach the silver chest. Open it to get PM – Thermal Scope blueprint.

Gold Chest
Proceed ahead and crawl through the vents to reach the next puzzle room. Here you will see four sockets behind rotating dioramas as shown in the picture below. Two of the sockets already have balls. You need to find two more balls and insert them into the other two sockets. Go to the right side of the room and you will find a ball as shown in the second picture below. Pick it up and throw it into one of the sockets. Then go back to the location where you found the previous ball. Jump the fence and go through the door to find another ball. Pick it up and go back to the starting location. Throw this ball into the final remaining socket. Now go through the door next to the sockets to reach the gold chest. open it to get KS-23 – Collector Stock and Fat Boy – Guidance System blueprints. Now take the elevator to the top to exit the testing ground.