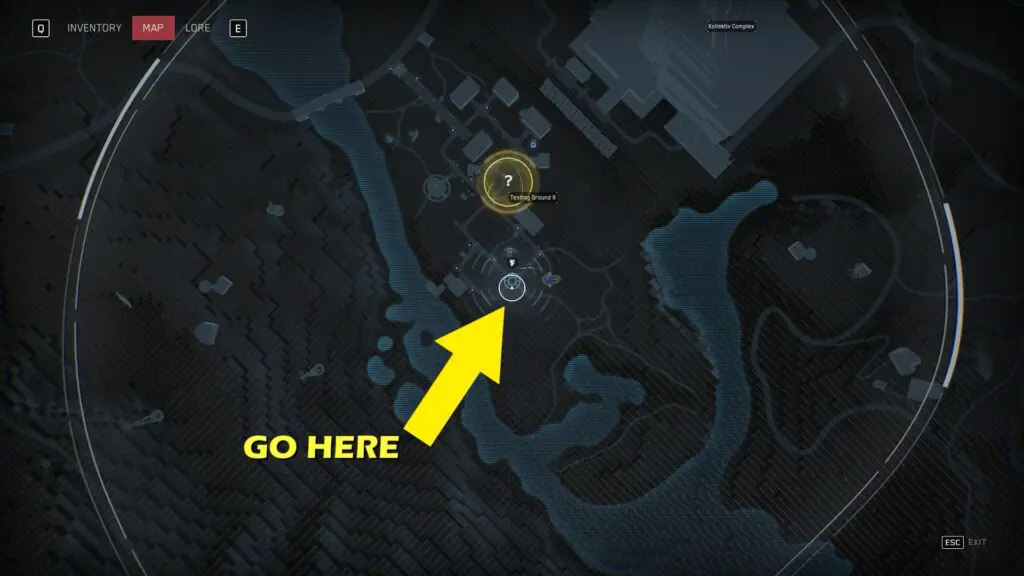
Atomic Heart: Testing Ground 9/ Polygon 9
This guide shows the complete walkthrough of Testing Ground 9/ Polygon 9 in the Atomic Heart game. Check the link posted below for a video walkthrough.
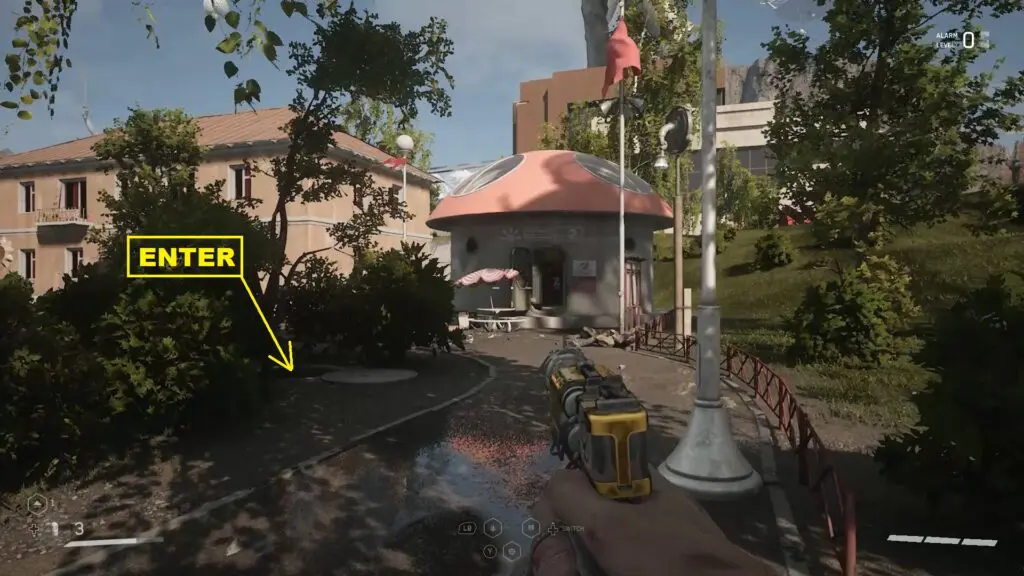
How to enter Testing Ground 9
In front of the game save location, you will find a hole in the ground as shown in the pictures below. Jump inside and defeat the enemies inside the tunnel.
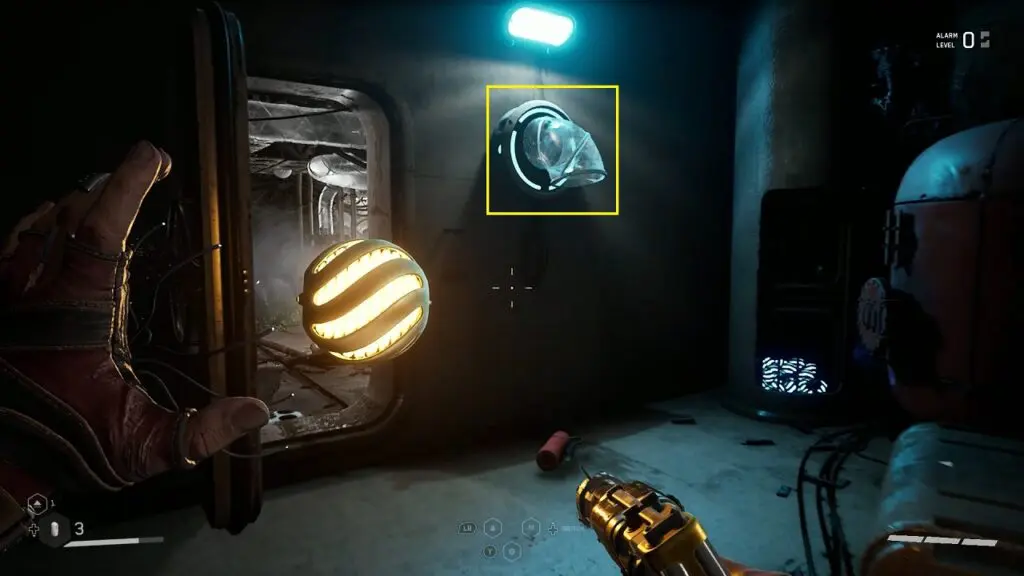
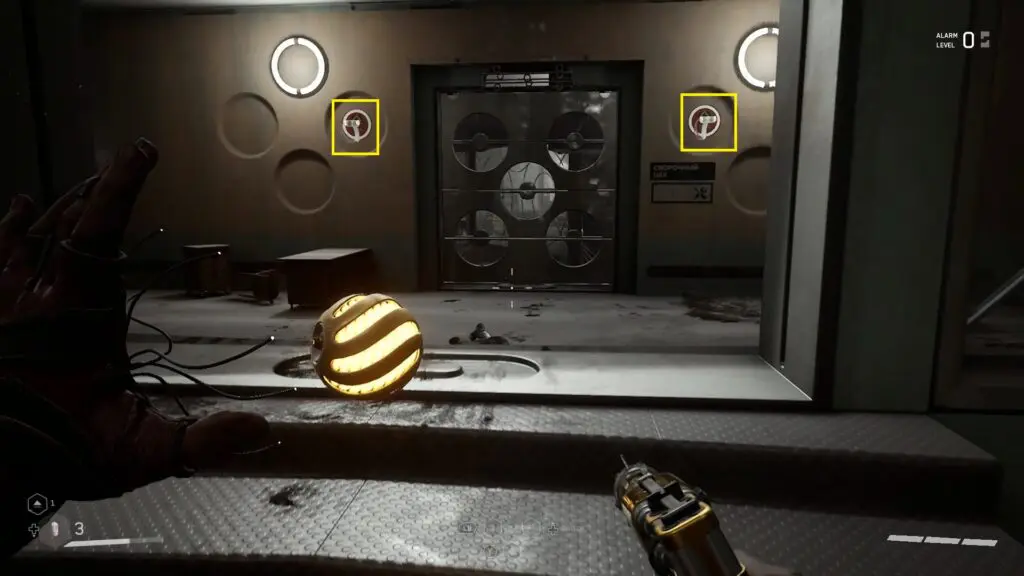
Proceed in the tunnel and you will reach an area with four boilers. You will also see a locked gate in this area as shown in the picture below. Open the locked gate and go inside.
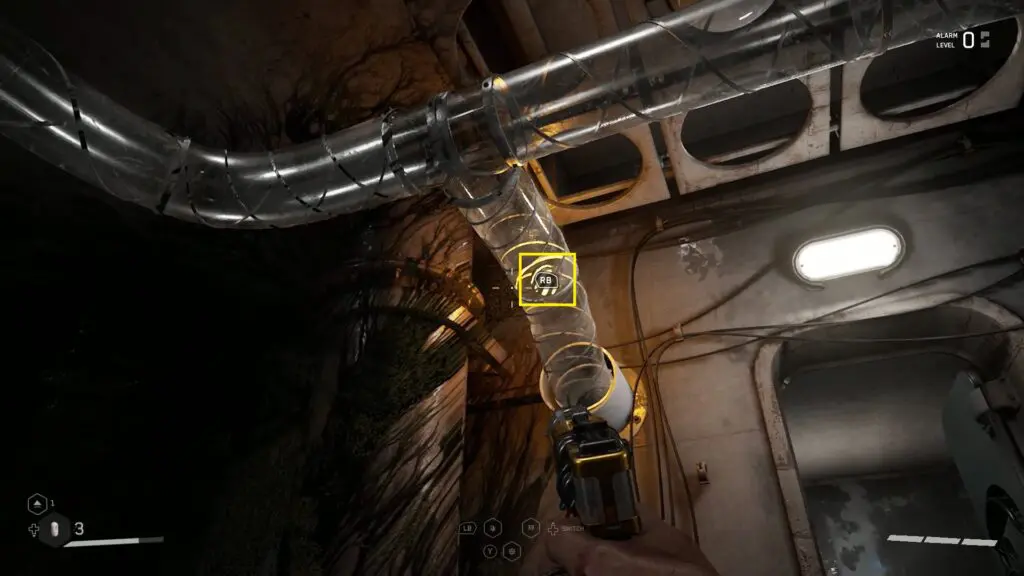
Pick up a ball inside the room and insert it into the pipe as shown in the picture below. Now go out and guide the ball into a boiler as shown in the second picture below. Guiding all four balls into the boilers will cause an explosion.
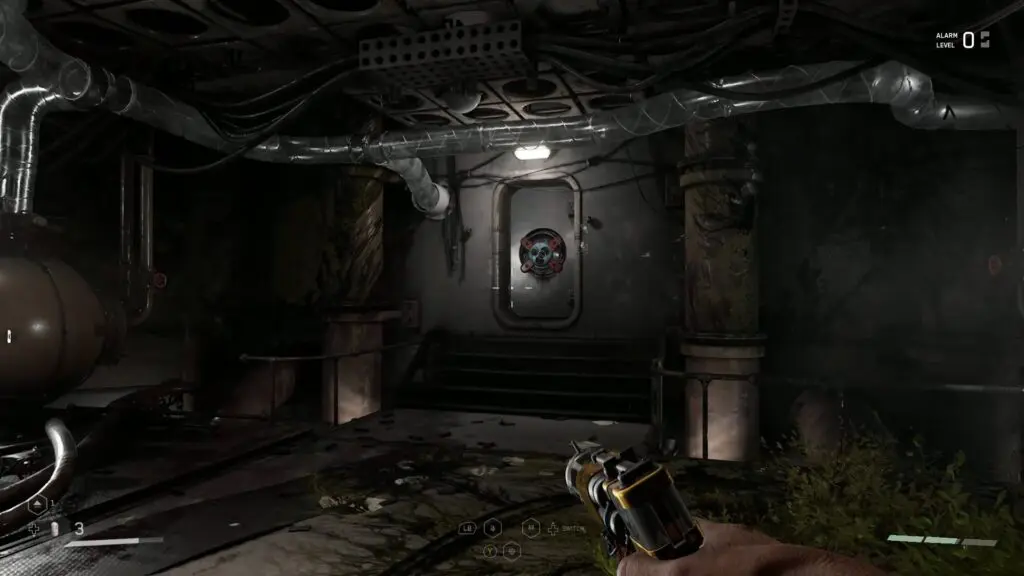
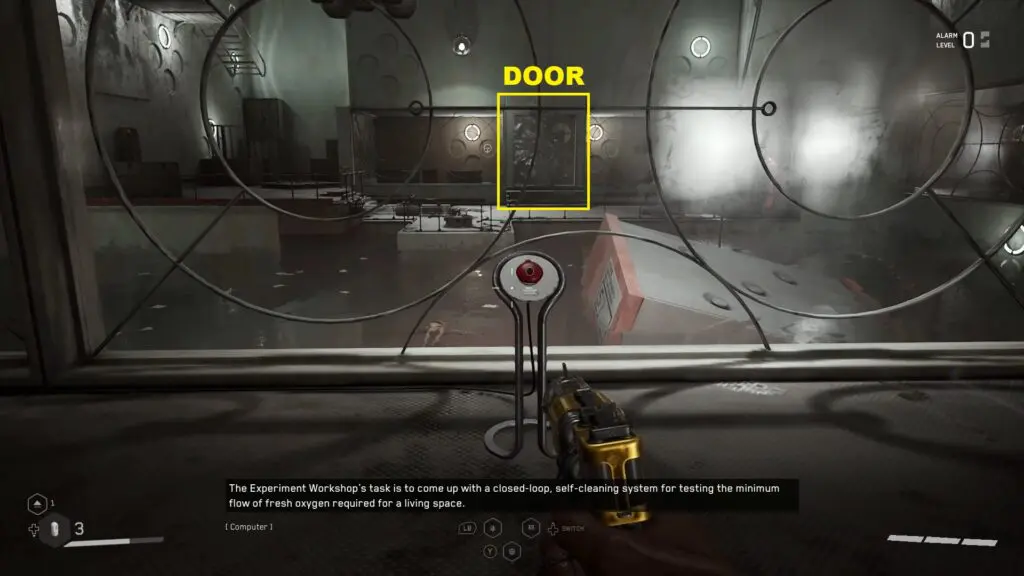
After the explosion, continue into the next room. There you will find a locked door. No need to open it. Proceed ahead and get down the stairs as shown in the picture below.
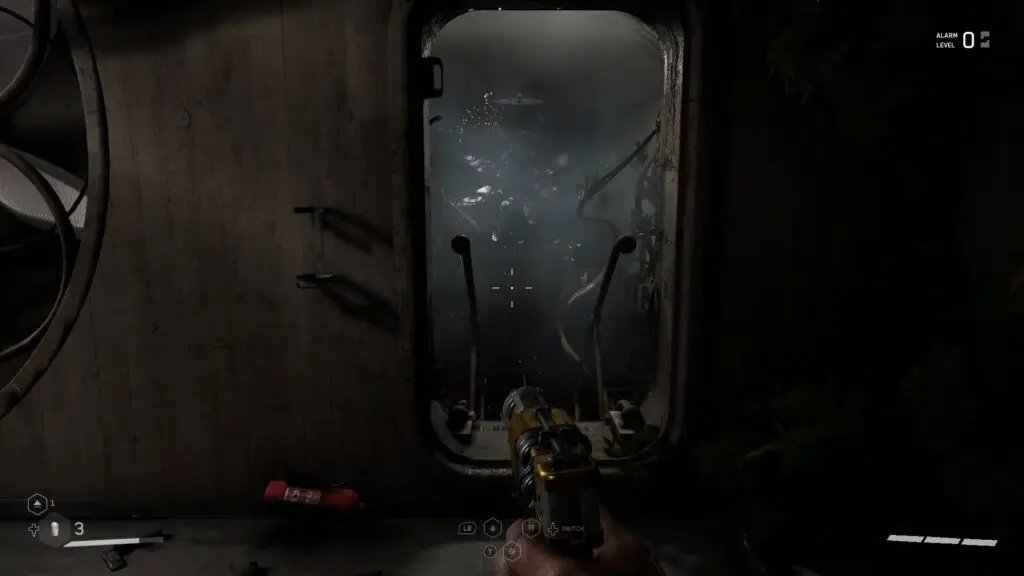
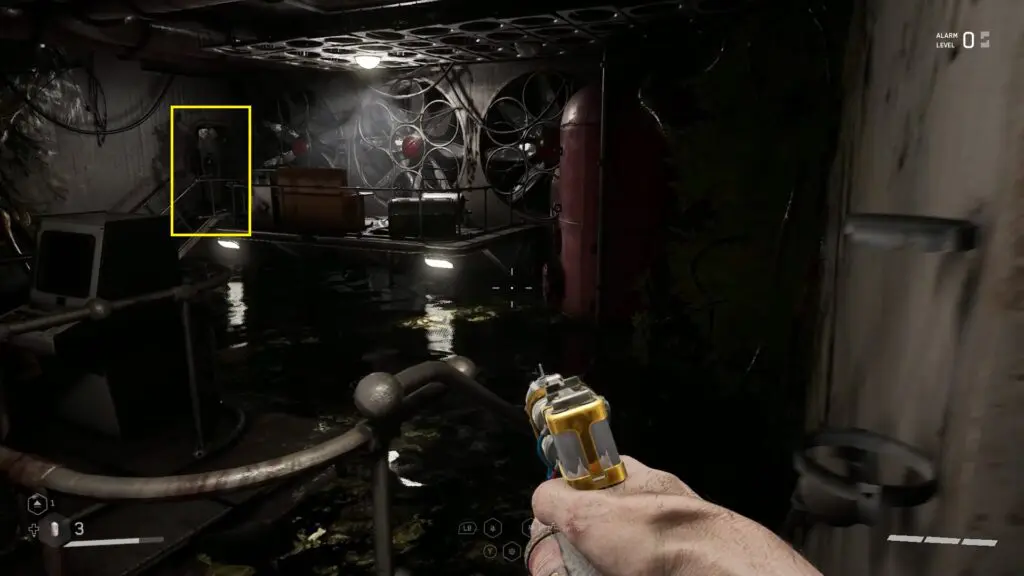
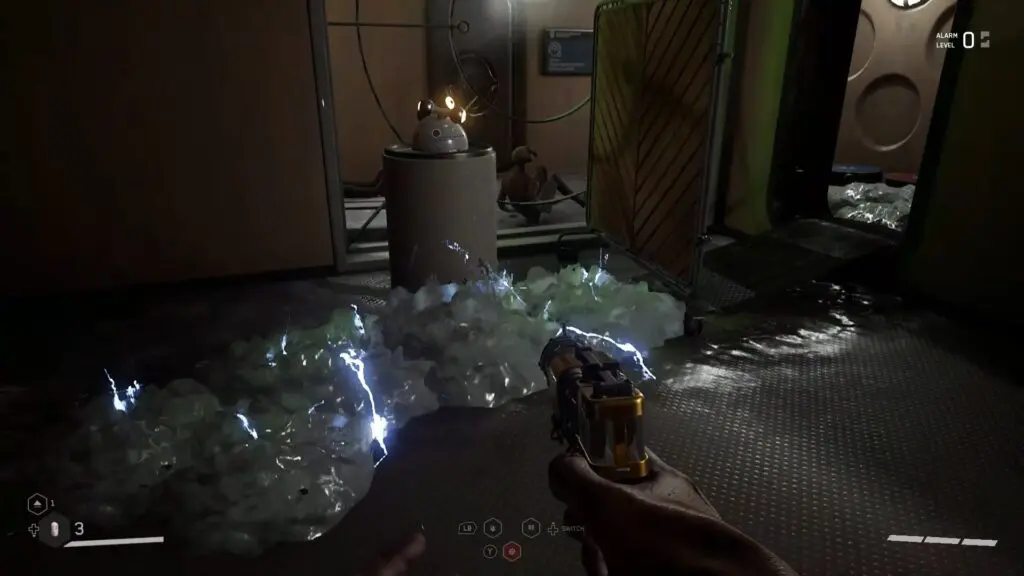
Keep going and after some time you will reach a room with giant fans on the wall. Go through the door in the corner of this room as shown in the picture below. Enter the polymer in the next room. Swim down in the polymer and emerge out from it into the water. Now swim back to the ground and make your way to the area with houses.
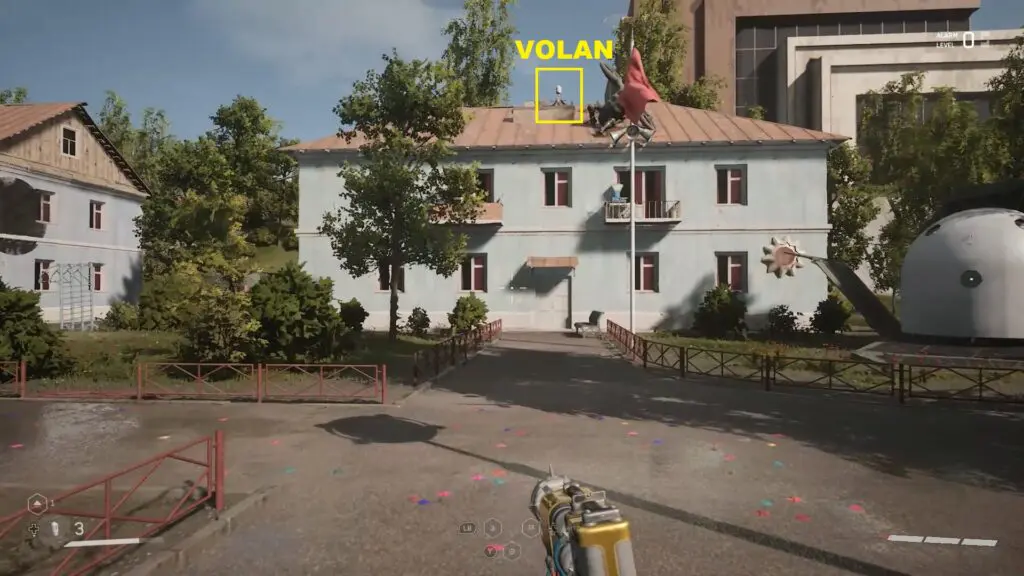
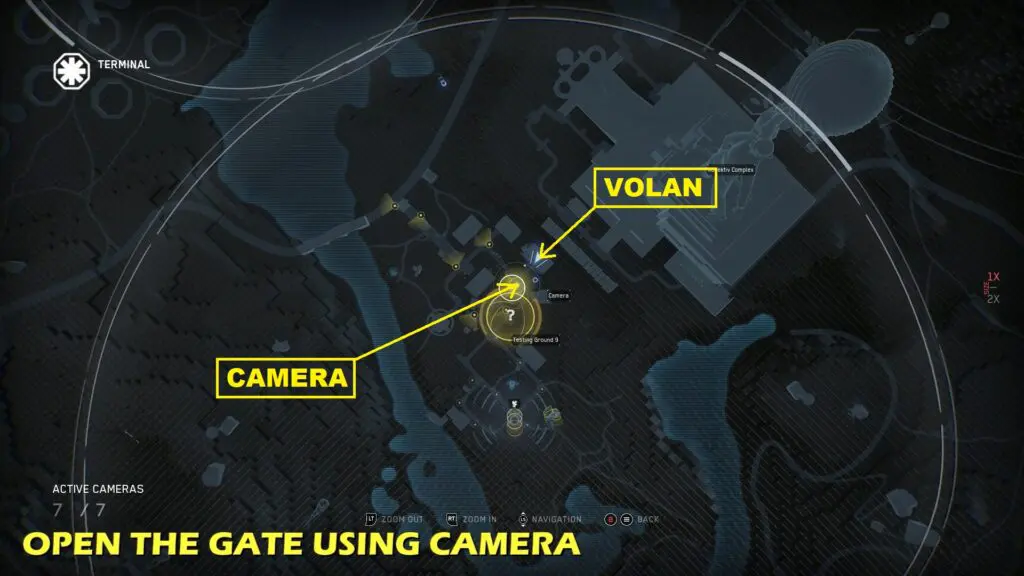
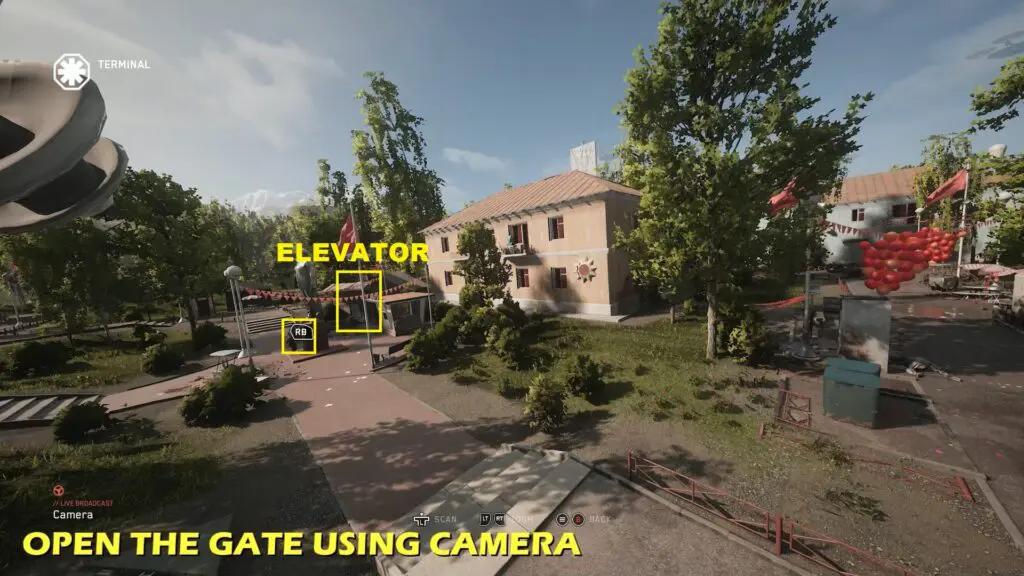
The Volan is on the roof of a house as shown in the pictures below. Climb to the roof using crates and pipe and the side of the house. Interact with the Volan and use the camera to open the elevator door as shown in the pictures below. Take the elevator down to reach the Testing Ground.
Bronze Chest
Proceed ahead and you will reach a small pedestal with polymer around it. Using shock on this pedestal opens the door ahead only for a few seconds, which isn’t enough for you to go through. Using shock on the polymer will give a continuous shock to the pedestal, which will keep the gate open. If there is no polymer around the pedestal, then you will need to get the polymer-throwing ability to open the door. Once the door is opened, continue ahead to reach a puzzle area.
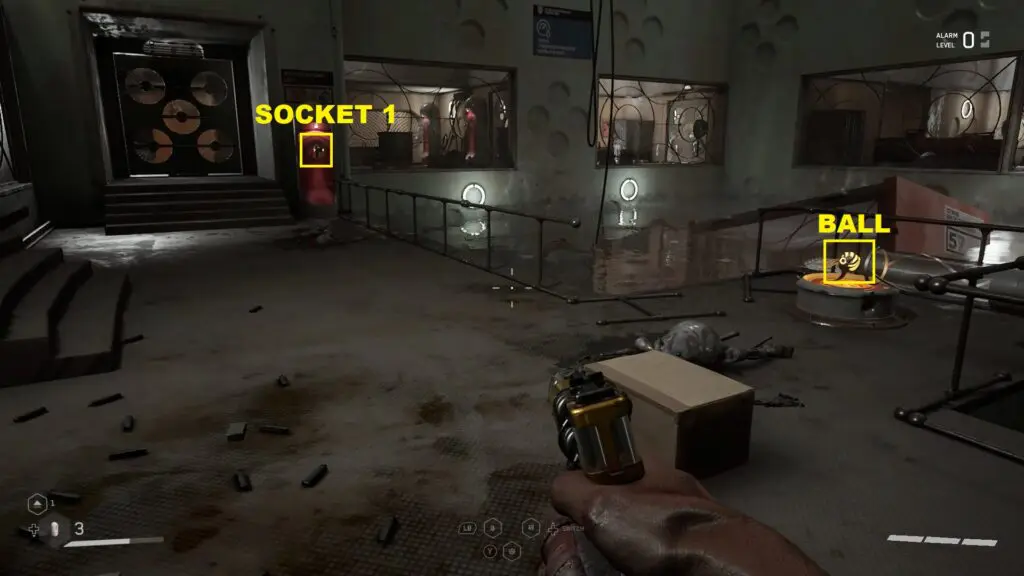
After reaching the puzzle area, pick up the ball as shown in the picture below, and insert it into Socket 1. This will open the door next to the socket. Proceed inside to reach the bronze chest. Open it to get the KS-23 – Collimator blueprint.
Silver Chest
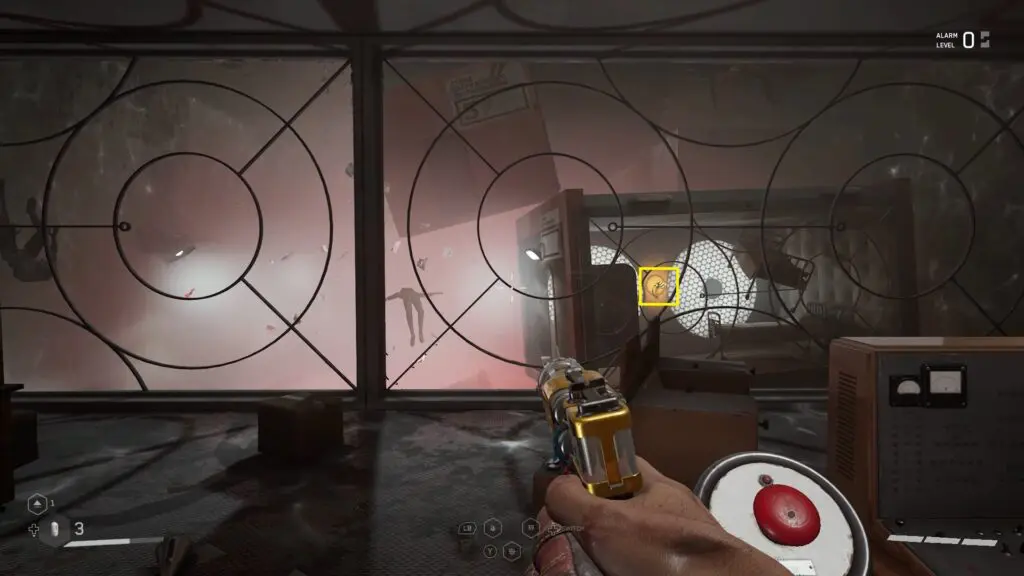
From the bronze chest, turn around and climb down the stairs to reach a red button. Pressing the red button will open a container door with another ball inside it as shown in the picture below. Go back outside and dive into the water to get this ball.
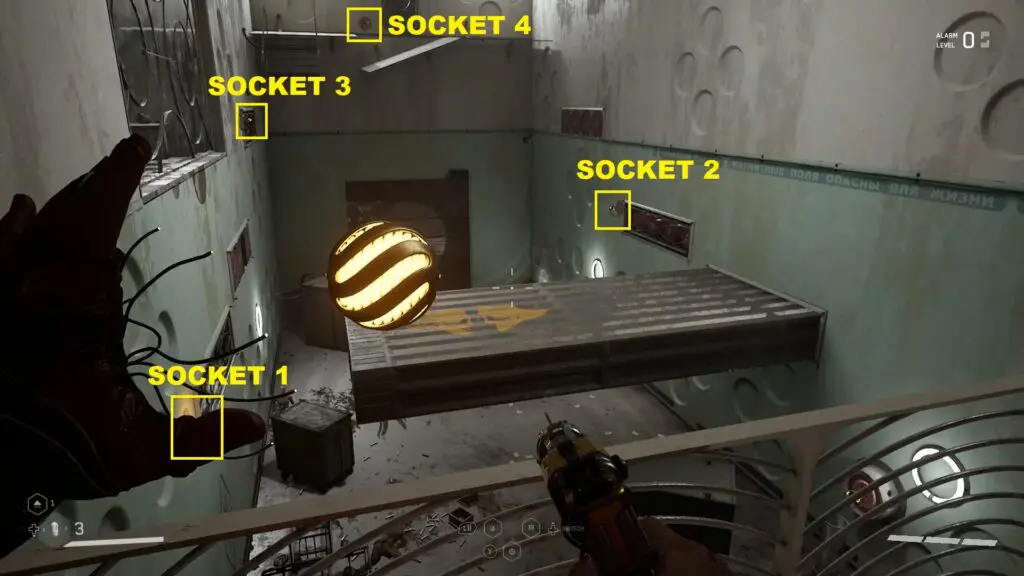
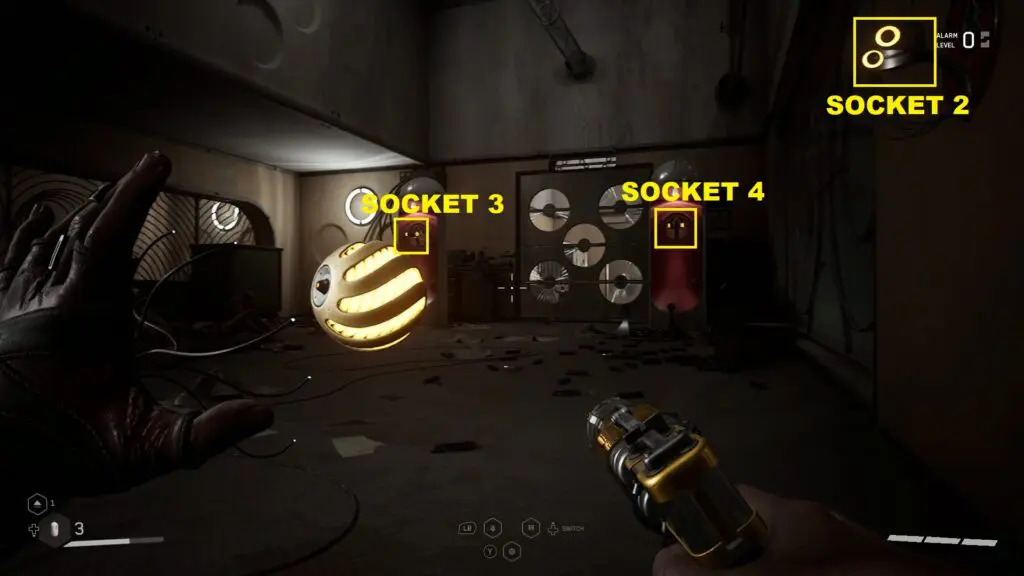
Pick up the ball and go back inside. Insert this ball into Socket 2 as shown in the picture below. Go back outside and take out the ball from Socket 1. Insert this ball into Socket 3. Now take out the ball from Socket 2 and insert it into Socket 4. When there is a ball in both Socket 3 & 4, the door between them will open. Go inside and you will find another red button there. Press it to open the door in the front as shown in the second picture below.
Now take out the ball from socket 3 and insert it into socket 2 to open the door leading outside. Then take out the ball from Socket 4 and insert it into socket 1. Now take out the ball from socket 2 and insert it into the socket behind the door that you opened before as shown in the picture below. Finally, take out the ball from socket 1 and insert it into another socket behind the door that you opened before. This will open the door between these sockets.
Continue ahead and defeat all the enemies in the next room. Then unlock the puzzle door in the room. Continue ahead and go down the stairs to reach the silver chest in the room on the right side of the hallway. Open the chest to get Dominator – Shot blueprint.
Gold Chest
Proceed ahead and you will reach another puzzle room. On the left side of the room, you will see a ball on top of a platform as shown in the picture below. Go to the left corner and use Shock on the roof to bring down the platform there. Then step on it and use shock on the roof again to take the platform up. Now jump to reach Ball 1.
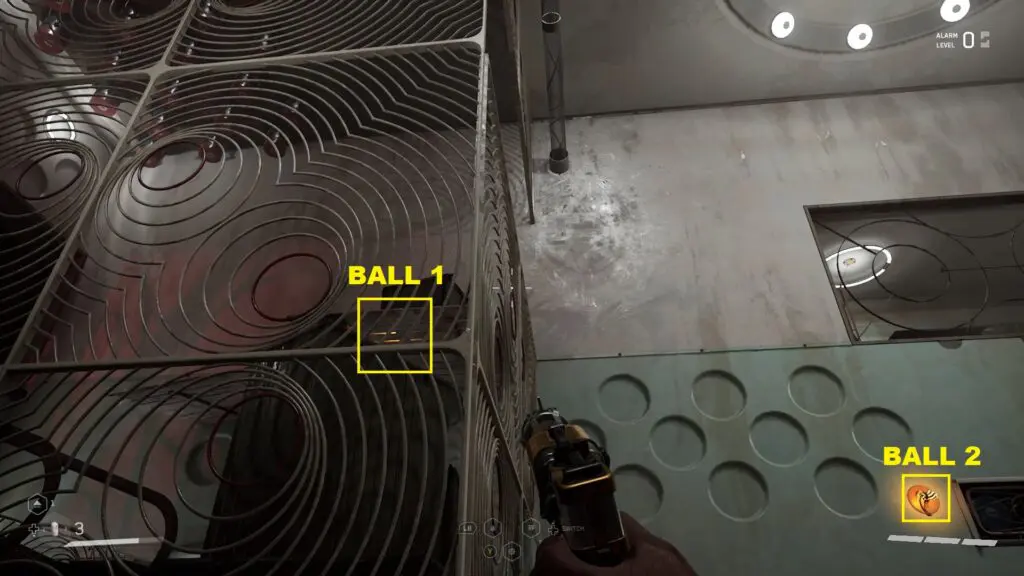
Pick up Ball 1 and jump down. Insert this ball into Socket 2 as shown in the picture below. This will make a platform come out. Use the crates to climb on this platform. Now take out the ball from Socket 1 and insert it into Socket 3. This will make another platform come out. Use this platform to reach the catwalk ahead. Now take out the ball from Socket 3 and insert it into Socket 4. This will open the door. Proceed ahead to reach the gold chest. Open it to get Kalash – Electromagnetic Polarizer and Pashtet – Handle blueprints. Now take the elevator to the top to exit the testing ground.