Yougou Cleansing is the last quest in the Sacred Sakura Cleansing Ritual quest line. This walkthrough will guide you through all the objectives and puzzles of the world quest Yougou Cleansing.
Report back to Kazari
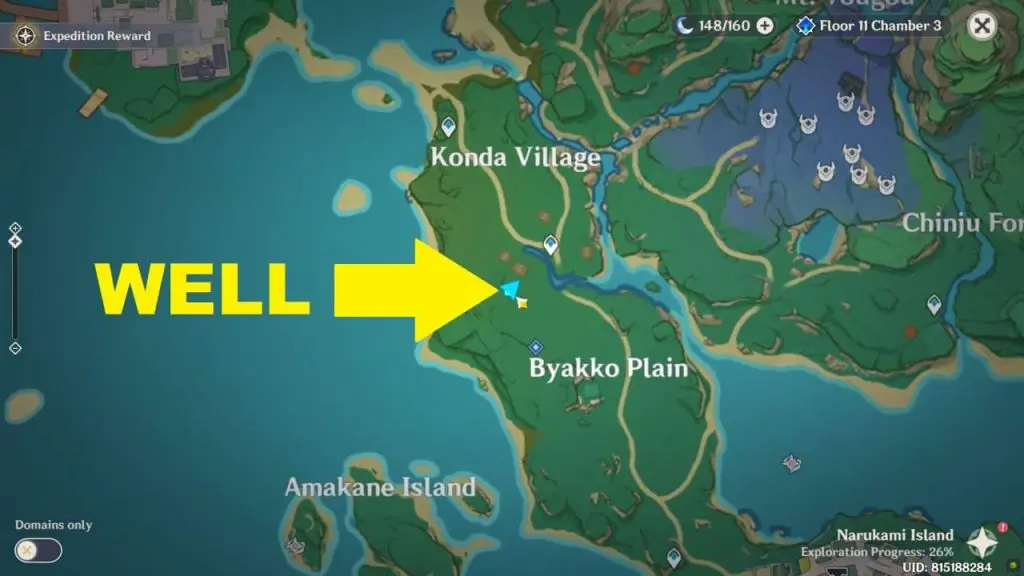
Descend in to the old dried-up well in Konda village. Kazari is near the red tree at the bottom of the well. Talk to her to complete the objective.
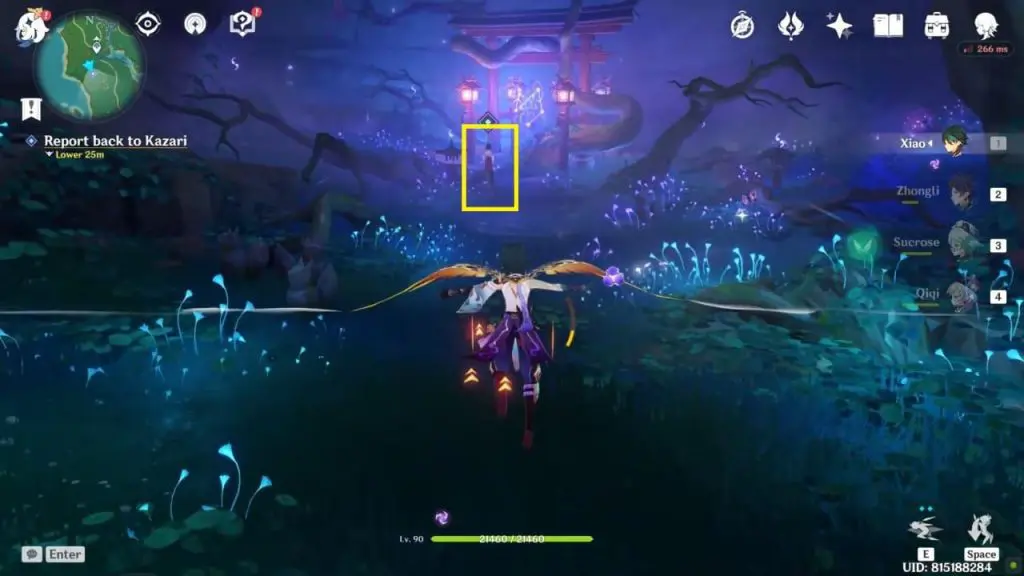
Head to opening at Mt. Yougou: The Depths and talk to Kazari
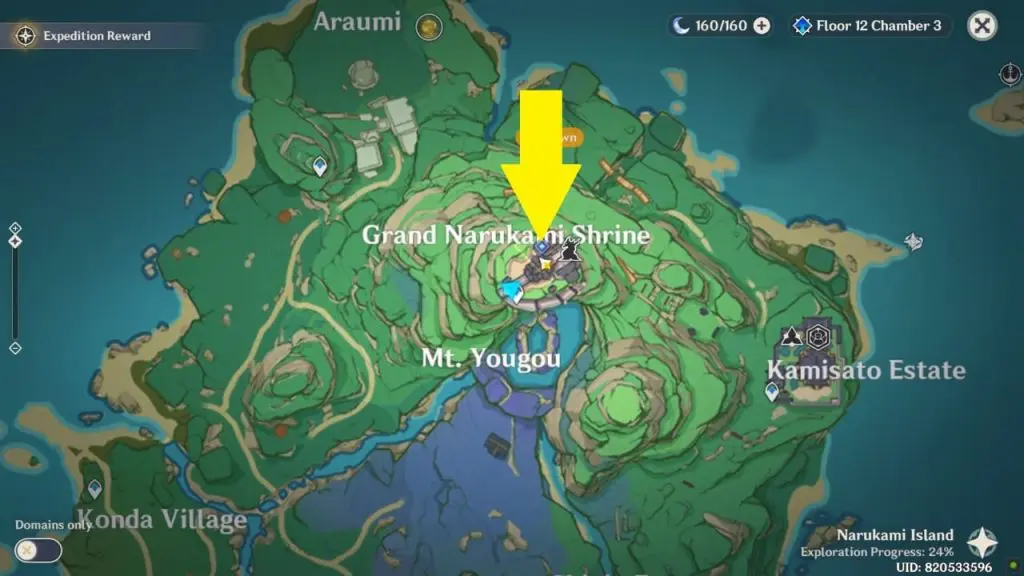
Go to the Grand Narukami Shrine (north of Mt. Yougou). Kazari is standing beneath the Grand Narukami Shrine at the opening of Mt. Yougou. You need to jump down from the Grand Narukami Shrine to reach Kazari. Talk to Kazari after which a cut-scene will start. The seal from Mt. Yougou will be lifted up and you will have to jump in to the opening.
Defeat Miasmic Tumor (Boss Fight)
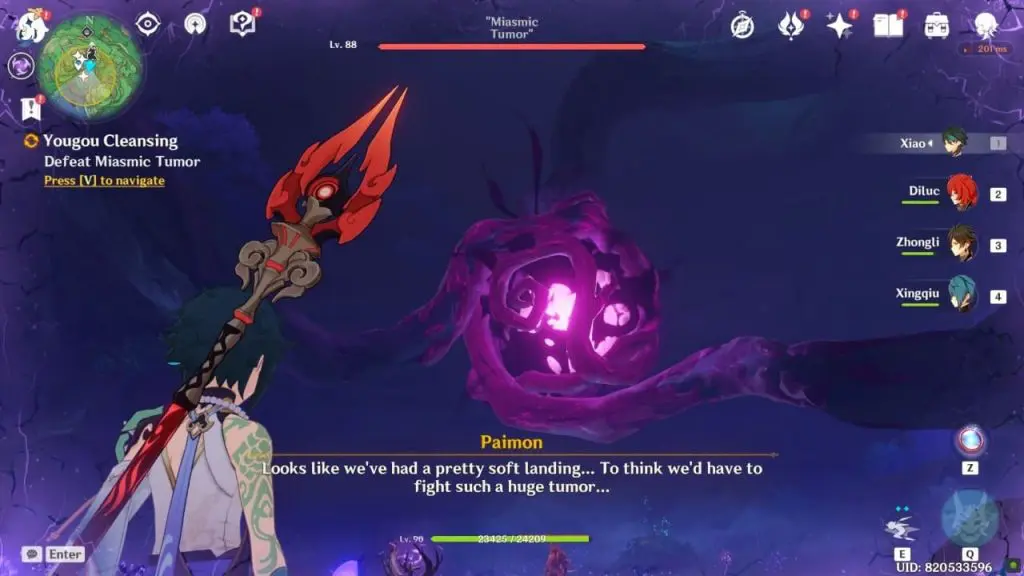
After landing you’ll have to defeat the huge Miasmic Tumor. The Miasmic Tumor is quite high and you can’t reach it. You need to solve the shrine puzzle to bring down the Miasmic Tumor on the ground. You can attack and damage the Miasmic Tumor when it’s on the ground.
Basic Tips
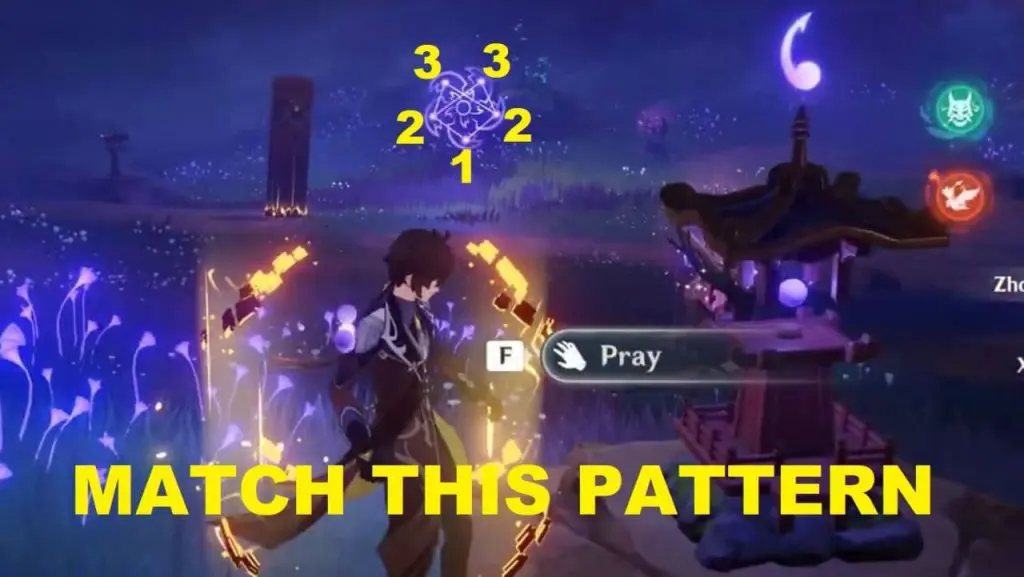
I’ll give you the basic layout of the area so that solving the upcoming puzzles become easy. There are 5 shrines in this area. The shrine which falls directly in front of the pattern (which appears later on) will always be the first shrine of the pattern (position or order =1). There are 2 shrines on its right and two shrines on its left. You need to rearrange the order of all these shrines (number the shrines) so that their sequence matches the pattern in the center.
NOTE: You can interact with the shrine to adjust (change) its order. The number of symbols above the shrine denotes the position (order) of the shrine in the pattern. For example, 3 symbols above a shrine means the shrine is in the third position in the pattern.
Shrine Puzzle #1
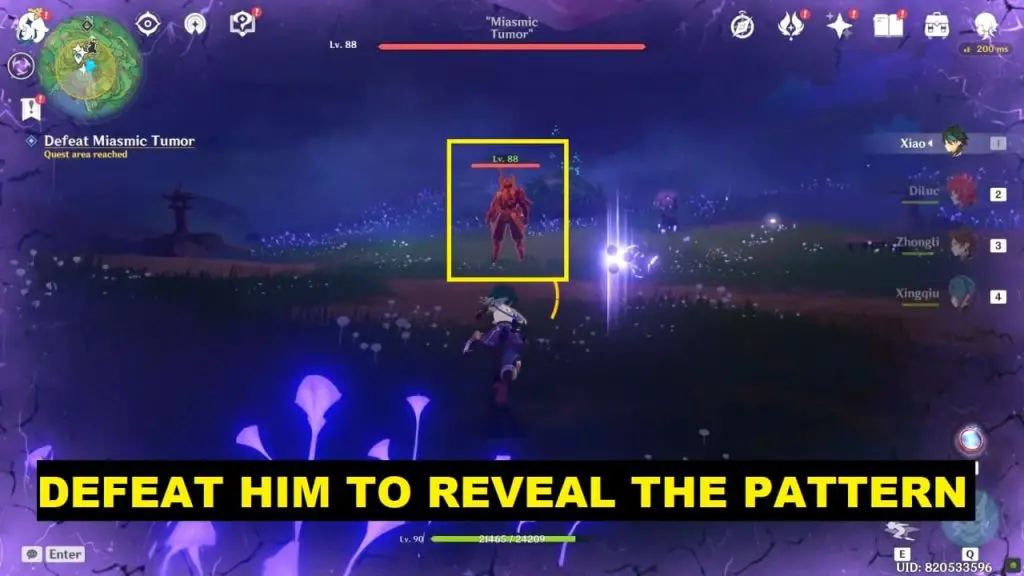
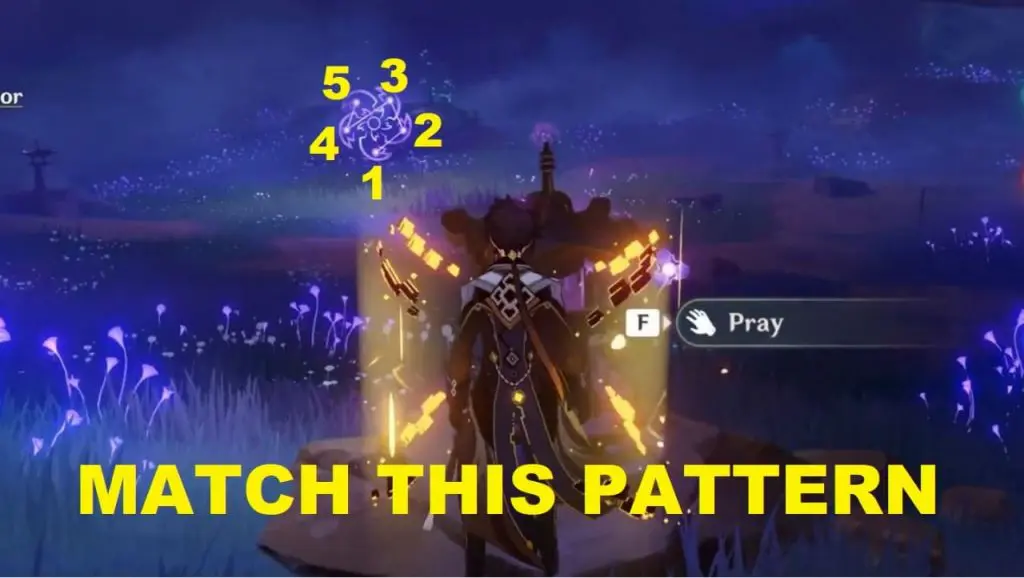
Defeat the enemy on the ground to reveal the first pattern (check the image below). Rearrange the order of the shrines to match the pattern. The shrine in the center (directly in front of the pattern) will be number 1. First shrine on the right is number 2. The second shrine on the right is number 3. First shrine on the left is number 4. The second shrine on the left is number 5. Now, interact with the central shrine to bring down the Miasmic Tumor. You can attack the Miasmic Tumor now. After a while it will go back up.
Shrine Puzzle #2
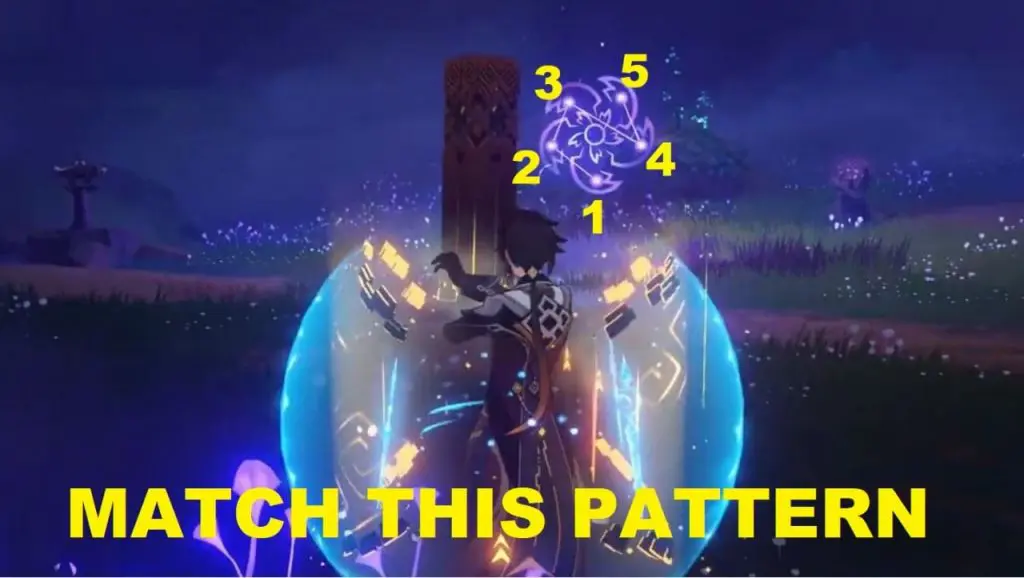
Defeat the enemy that appeared on the ground to reveal the second pattern (check the image below). Rearrange the order of the shrines to match the pattern. The shrine in the center (directly in front of the pattern) will be number 1. First shrine on the left is number 2. The second shrine on the left is number 3. First shrine on the right is number 4. The second shrine on the right is number 5. Get back to the central shrine and pray to bring down the Miasmic Tumor. Attack the Miasmic Tumor until it goes back up again.
Shrine Puzzle #3
Defeat the enemies that spawned on the ground to reveal the final pattern (check the image below). Rearrange the order of the shrines to match the pattern. The shrine in the center (directly in front of the pattern) will be number 1. First shrine on the left and on the right are number 2. Second shrine on the left and on the right are number 3. Get back to the central shrine and pray to bring down the Miasmic Tumor for the final time. Attack the Miasmic Tumor until it is defeated. This will trigger a cut-scene and the quest will end.