Chapter 2: Intensive Care | Dead Space Remake
This guide shows how to complete Chapter 2: Intensive Care in Dead Space Remake. The guide only shows the main mission objectives and does not include the collectibles. Please note that you will be able to access some areas only from the story progression. So, if you are unable to open some doors then don’t fret as you will be able to access those areas later.
Retrieve the Captain’s RIG
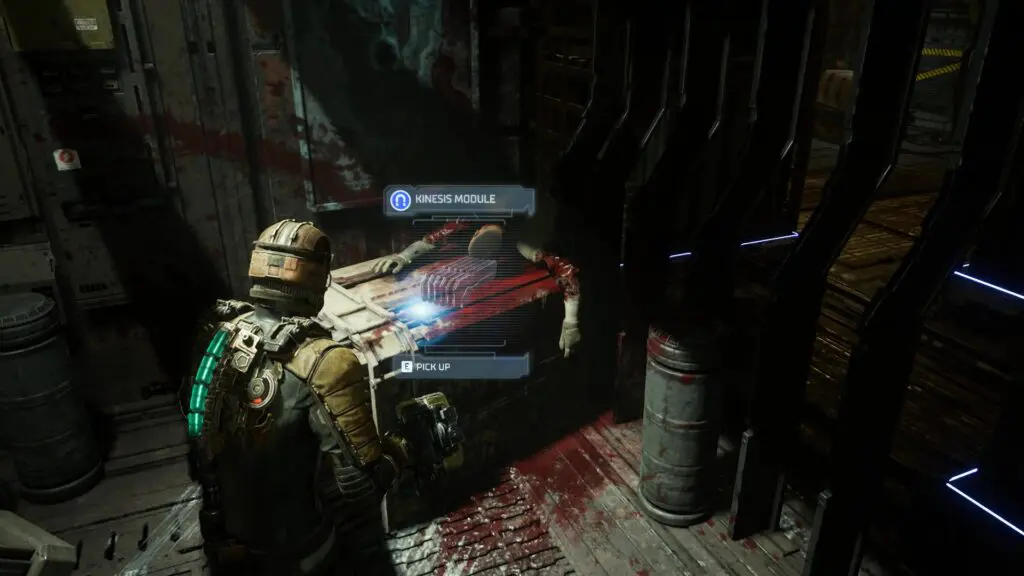
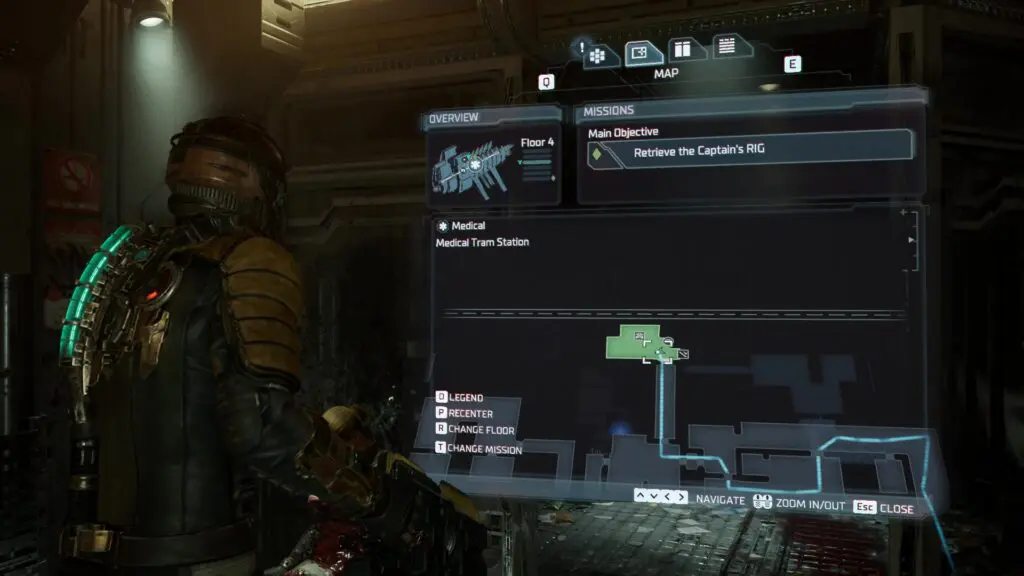
The chapter starts as you reach the Medical Deck. As the chapter starts, collect the Kinesis Module from the corpse on the left side as shown in the picture below. Then use it to reach and move the boxes blocking the path. Now proceed ahead and climb up the ramp to reach the Medical Tram Station as shown in the second picture below.
As you enter the Medical Tram Station, you will find Pulse Rifle on a corpse on the left side. Go through the door next to the corpse. Use Kinesis to move the boxes blocking the path. Then proceed ahead to reach the Security Station. As you reach here, your current objective will be terminated and a new objective will start.
Find a Hydrazine Tank
From Security Station, go through the door leading to Imaging Diagnostics Wing. Continue ahead in a linear path to reach the Imaging Diagnostics Wing. After entering, use Kinesis to move the big glass tube blocking the path as shown in the picture below. Now proceed ahead.
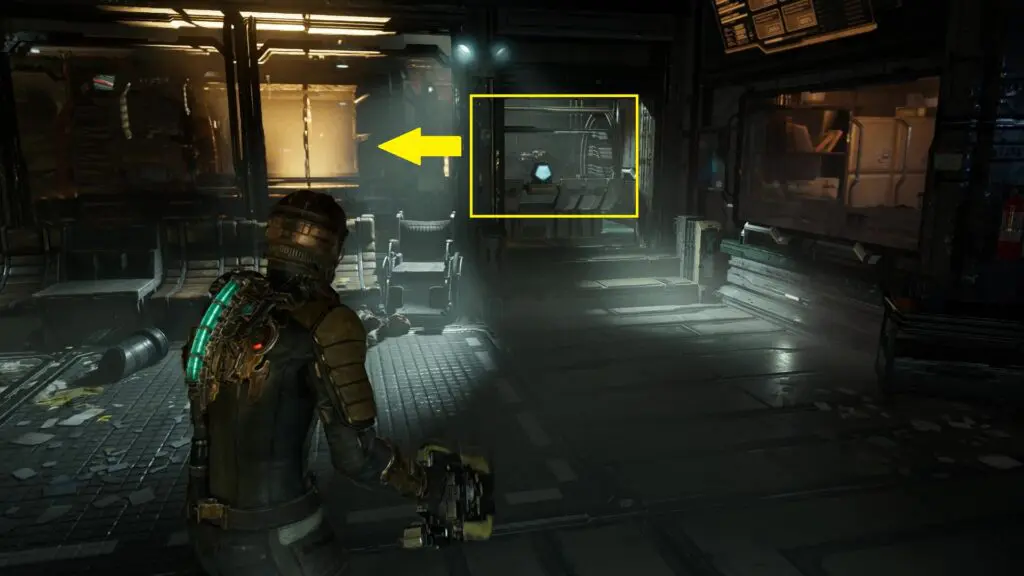
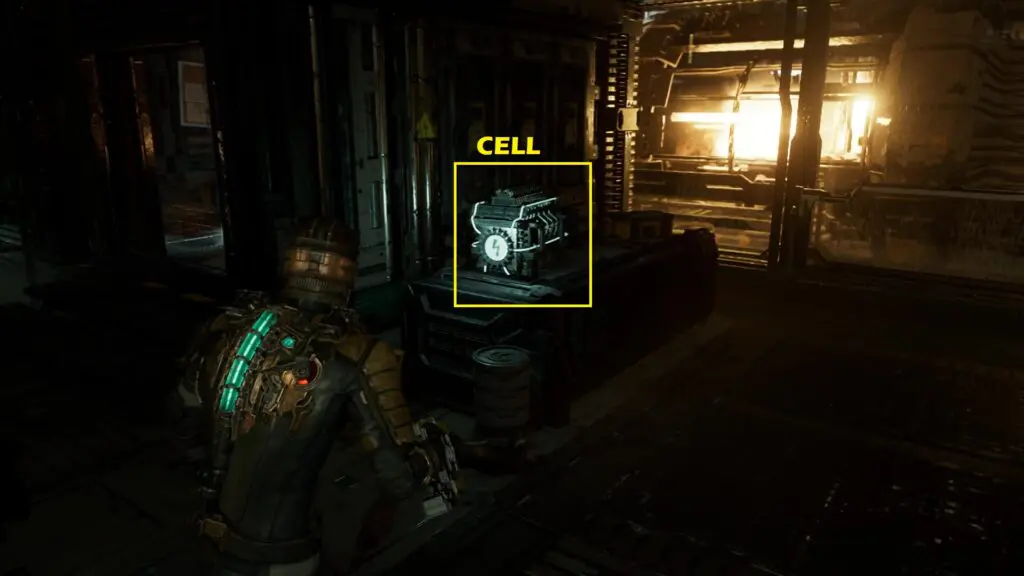
In the next room, you will find an elevator with a Circuit Breaker next to it. First, you will have to power up the Circuit Breaker by inserting a power cell into the socket next to it as shown in the picture below. The power cell is on a table in front of the socket as shown in the second picture below. Use Kinesis to lift the power cell. Then go near the socket while carrying the power cell, to insert it into the socket. This will power up the Circuit Breaker. Now use the Circuit Breaker to power the elevator.

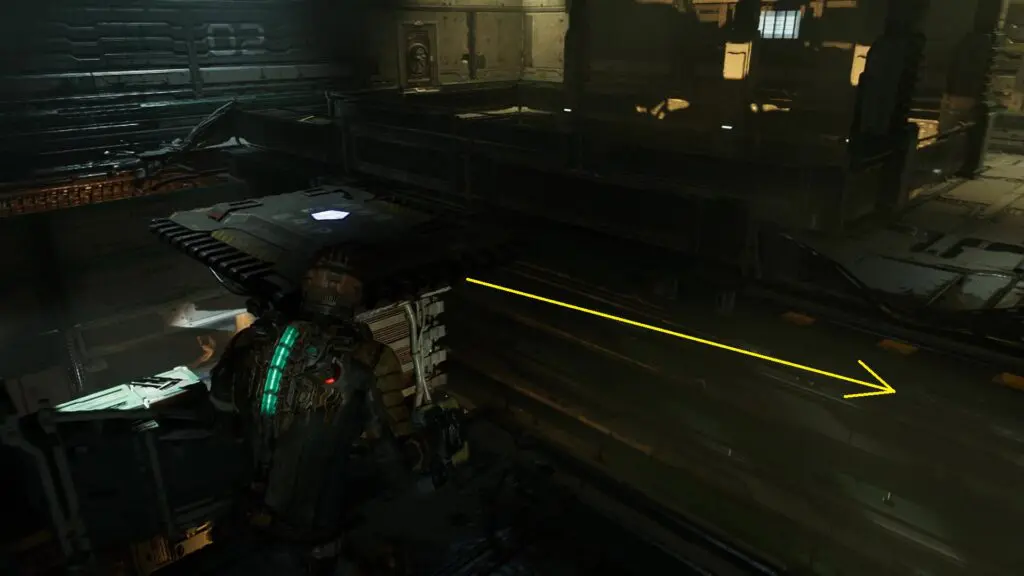
Take the elevator to reach the upper level. Here you will find that the path is broken. Use Kinesis to move the platform toward the right as shown in the picture below to make a path.
Proceed ahead and use the locator to find the path leading to Zero-G Therapy. While on this path, you will enter your first vacuum in the game. While in the vacuum, the RIG will display the remaining time before the oxygen supply is depleted. Make your way across the vacuum in the given time.
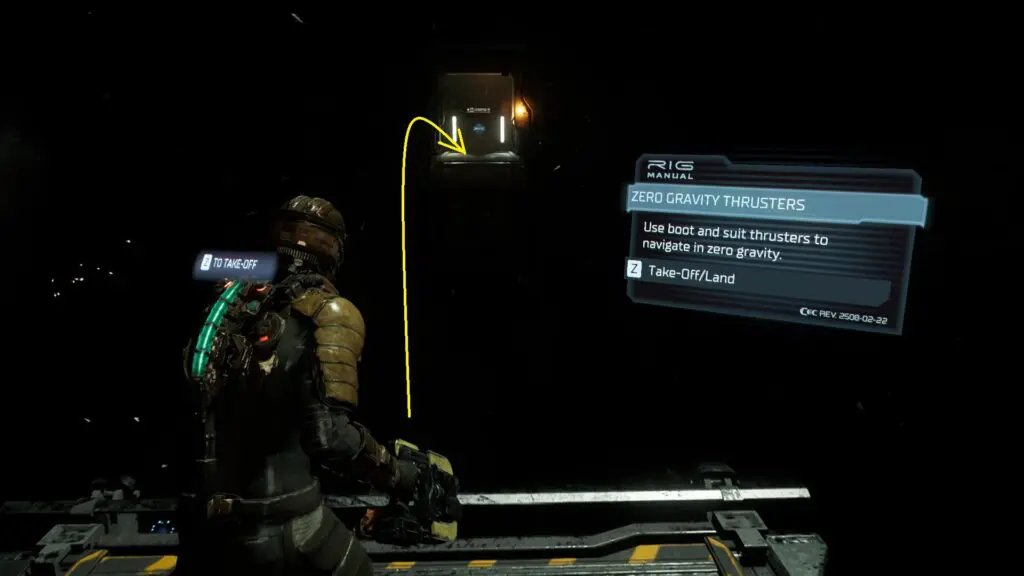
After coming out of the vacuum, you will see Zero-G Therapy Maintenance straight ahead as shown in the pictures below. Use Zero Gravity Thrusters to fly and reach there. Go inside and you will find the Hydrazine Tank there.
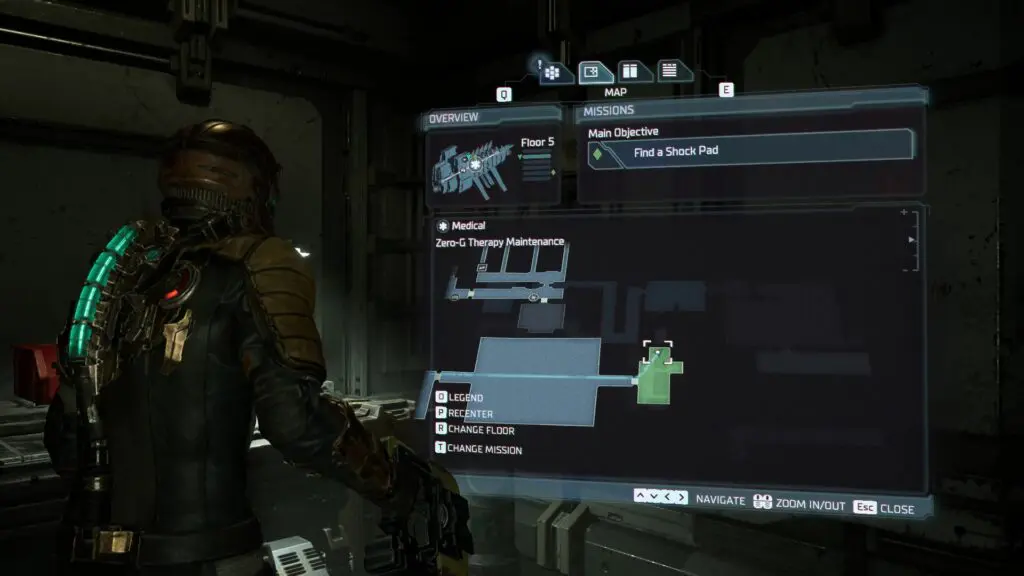
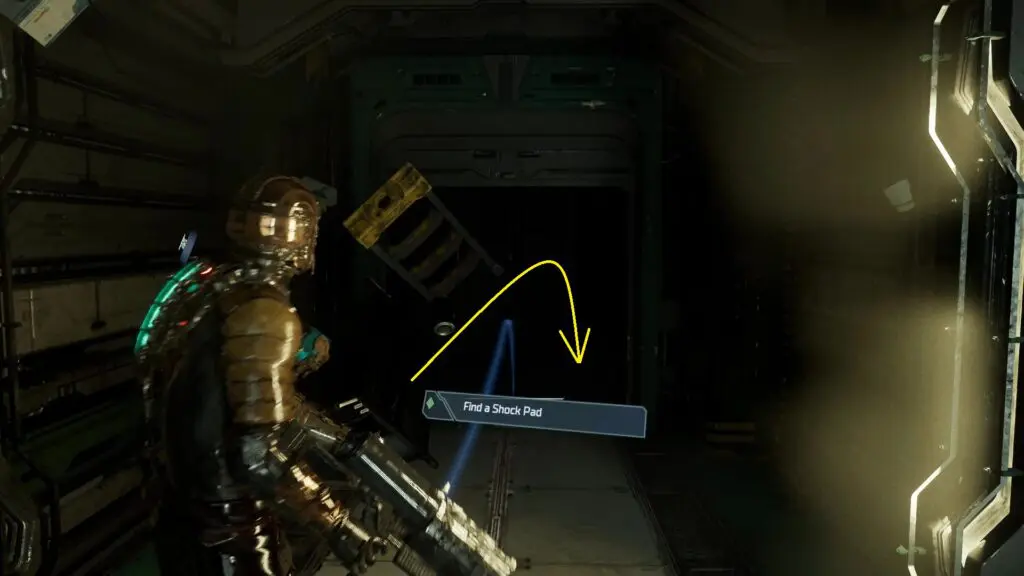
Find a Shock Pad
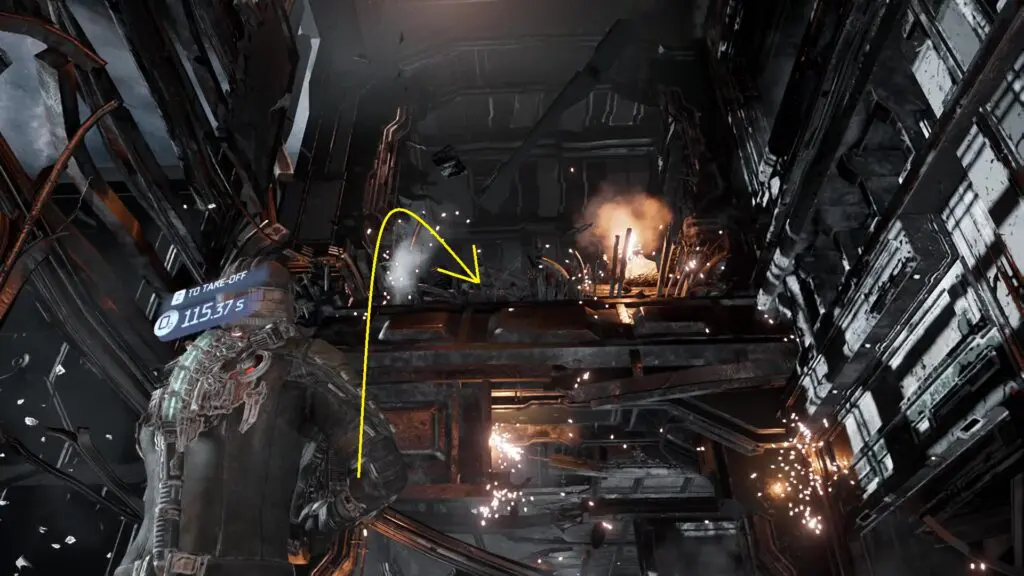
Go back to the vacuum that you crossed before. As you reach the area, there will be an accident and your path will be blocked. This time the path going back won’t be as simple as it was when you came. But it’s still fairly simple. Look up and you will see a hole in the wall above as shown in the picture below. Use your thrusters to jump to the upper level. Then proceed ahead in a linear path until you come out of the vacuum. After the vacuum ends, use your thrusters to go down the elevator shaft as shown in the second picture below.
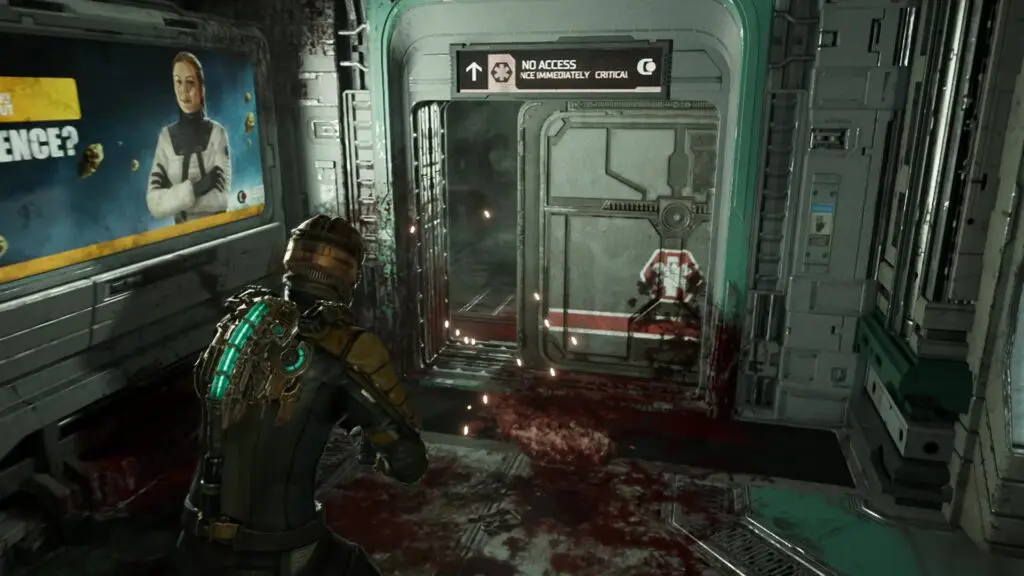
Proceed ahead using the locator for guidance until you reach the entrance to the security station as shown in the picture below. Destroy the tube next to the door to unlock it. Proceed ahead to reach the security station.

From the Security Station, take the door going towards the Research Wing. Here you will find a malfunctioning door as shown in the picture below. Use Statis to slow down the door and proceed ahead.
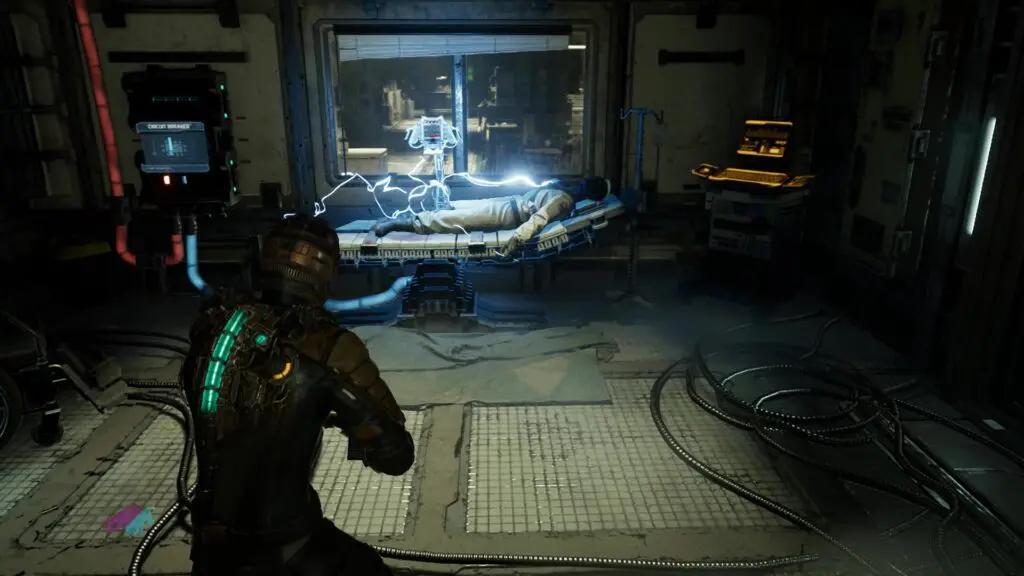
Soon you will reach the Main Lab. Defeat the enemies there and take the elevator going down. Defeat some more enemies and enter the Main Lab Changing Room. From there, make your way to the Biological Prosthetics Center. Take the elevator there going up and then enter the Limb Stimulation Therapy room. Here you will see the Shock Pad next to a corpse as shown in the pictures below. Use the Circuit Breaker to power off the Shock Pad and then pick it up.
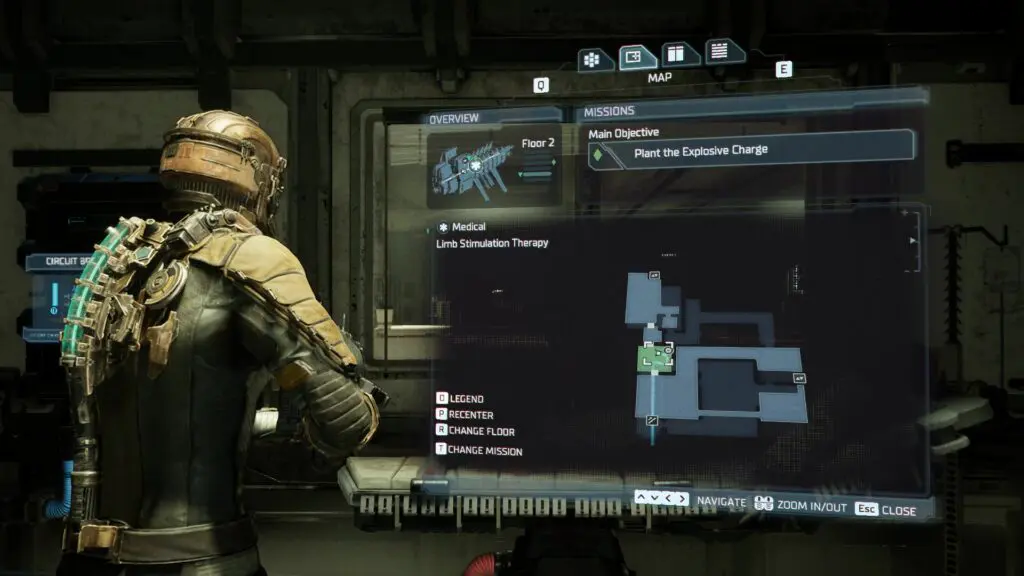
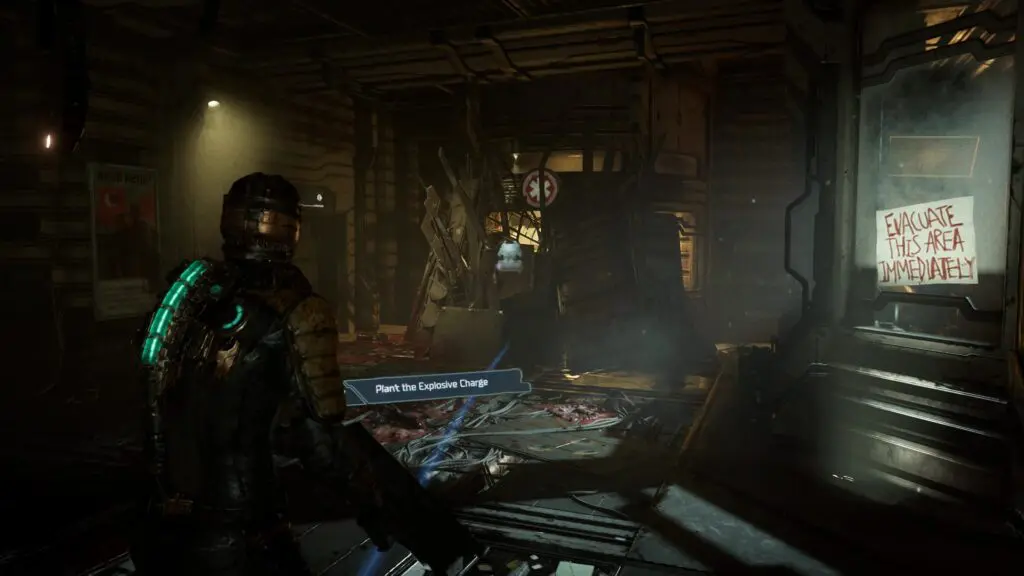
Plant the Explosive Charge
Use the Circuit Breaker next to the corpse to power the door leading to the Mini Lab. Go through the door and continue straight to make your way back to the Security Station. Once you are there, plant the explosive charge on the debris as shown in the pictures below. Take cover in the room beside the save station to detonate the explosive.
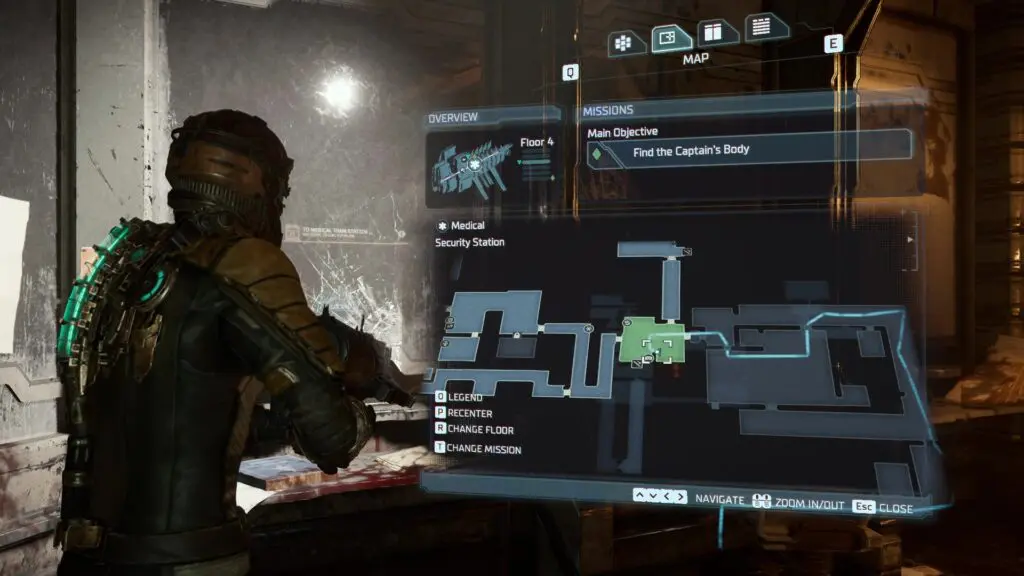
Find the Captain’s Body
After the explosive is detonated, enter the Ishimura Clinic. Then enter the emergency room on the right side. Here you will get Follow Nicole’s Hologram objective for the Scientific Methods side mission.
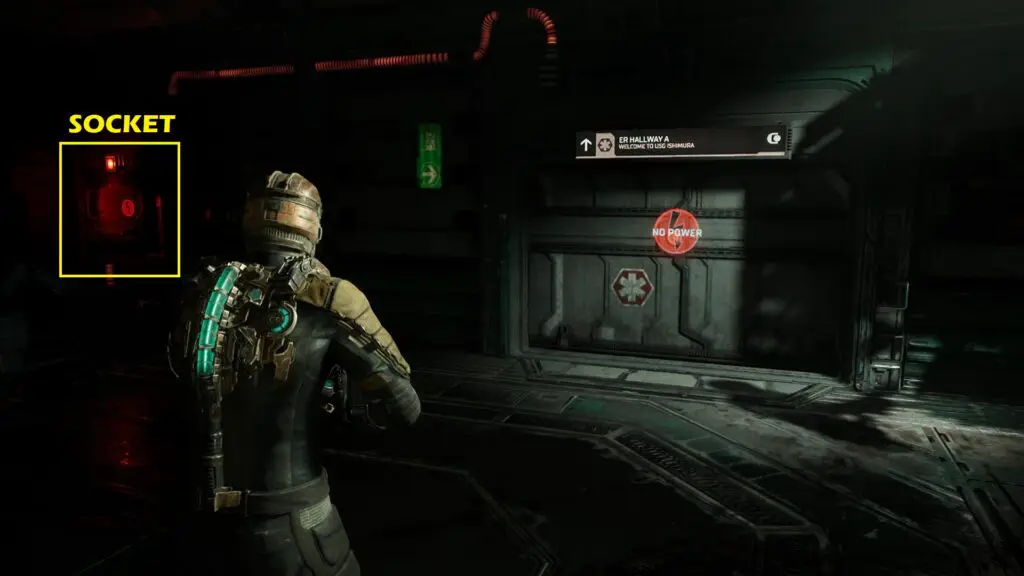
In the emergency room, you have to go through the door with ER Hallway A written over it. But the door has no power. To power the door, you will have to find and insert a power cell into the socket next to the door as shown in the picture below.
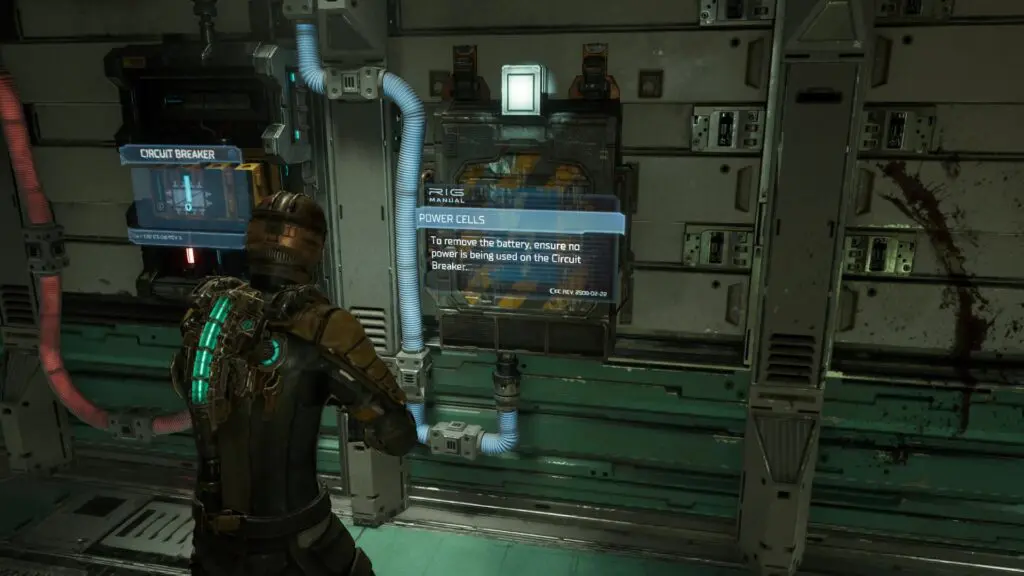
On the opposite side of the ER Hallway A door, you will find another door with ER Hallway B written over it. On the left side of this door, you will find a circuit breaker and a socket containing a power cell as shown in the picture below. Interact with the Circuit Breaker and switch off all the power being used. Now, you will be able to remove the battery from the socket. Insert this power cell into the socket next to ER Hallway A door. Now the door will be unlocked.
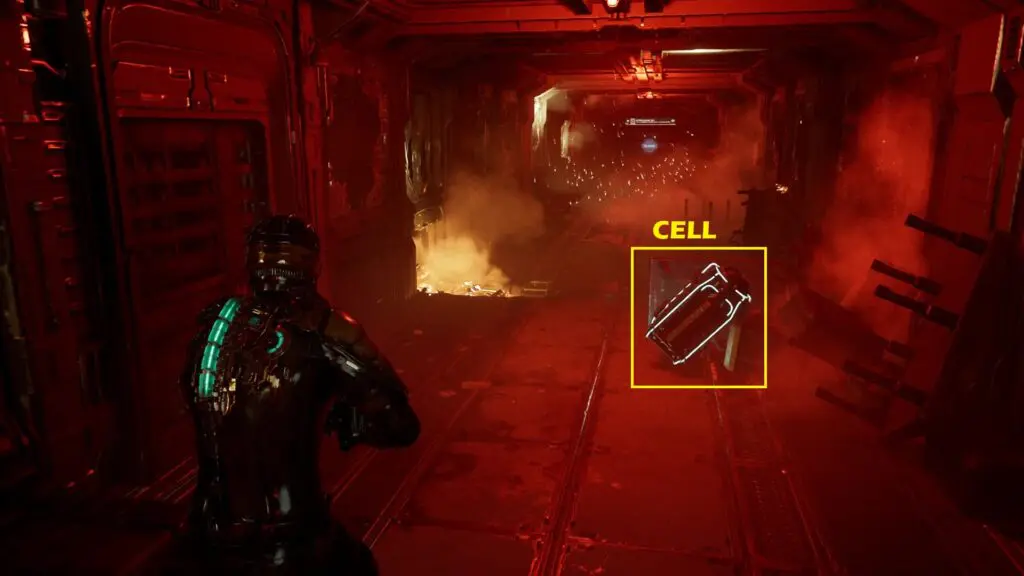
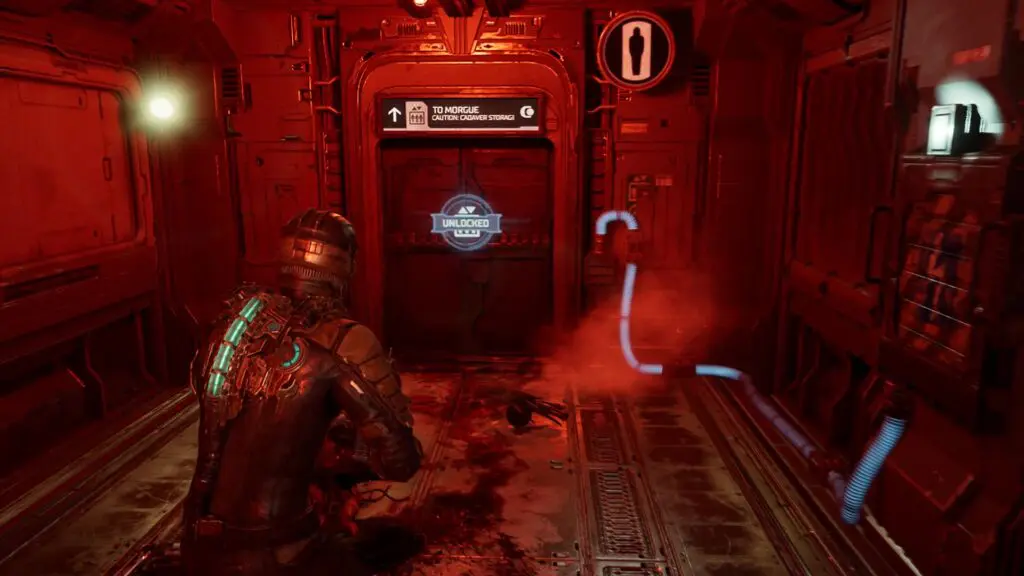
Proceed ahead and follow the locator to enter the Intensive Care Unit. From there, make your way toward the Morgue. The door there won’t have power. Turn around and you will find a power cell in the hallway as shown in the picture below. Use Kinesis to lift the cell and insert it into the socket next to the Morgue door as shown in the second picture below. Take the elevator and reach the Morgue.
Inside the morgue, enter the Autopsy Room to find the Captain’s Body. Defeat the captain and clear the morgue of enemies. Then retrieve the Captain’s RIG from the table where you found his body. This will increase your security clearance level to 1.
Go to Security Station
Take the elevator next to the Autopsy Room. As you reach the upper level, this objective will be canceled and you will get a new objective.
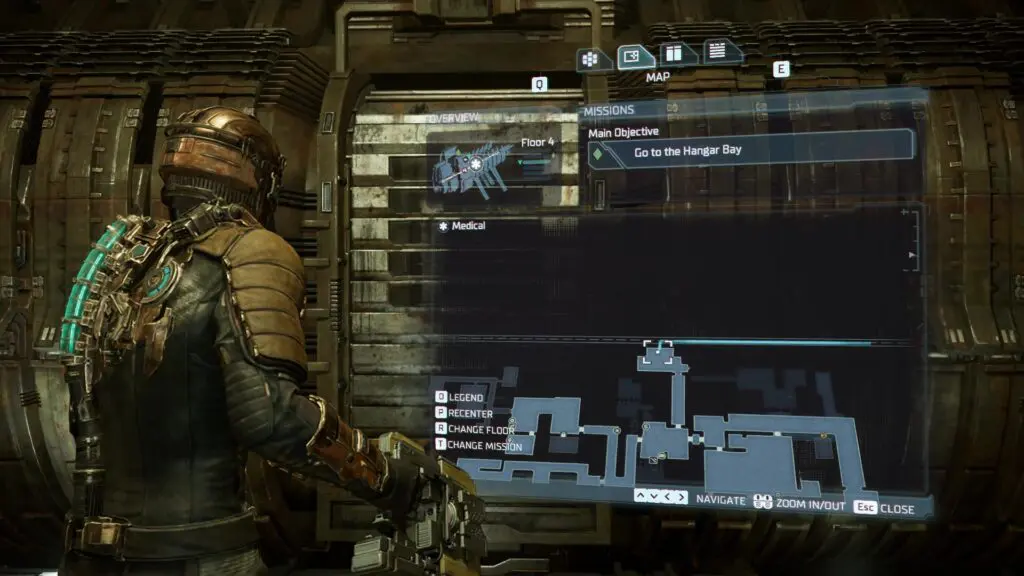
Go to the Hangar Bay
Step out of the elevator and exit the Ishimura Clinic. Now go left to reach the Security Station. From there, go to Medical Tram Station as shown in the picture below. As you reach there, the tram will come and its door will open. Enter the tram and ride it to the Hangar.
Note: Many players are reporting a bug where the tram door is not opening. If that happens, then load the previous save and the door will open.
On reaching Hangar, step out from the tram and make your way to the Flight Lounge. From there go to the Hangar Bay to complete the mission.