This guide shows how to complete a hidden world quest “The Treasure of the Four Skerries” in the game Genshin Impact 2.8. This quest is available after you have completed that quest “Like Rhyme and Song, the Summer Reverie”
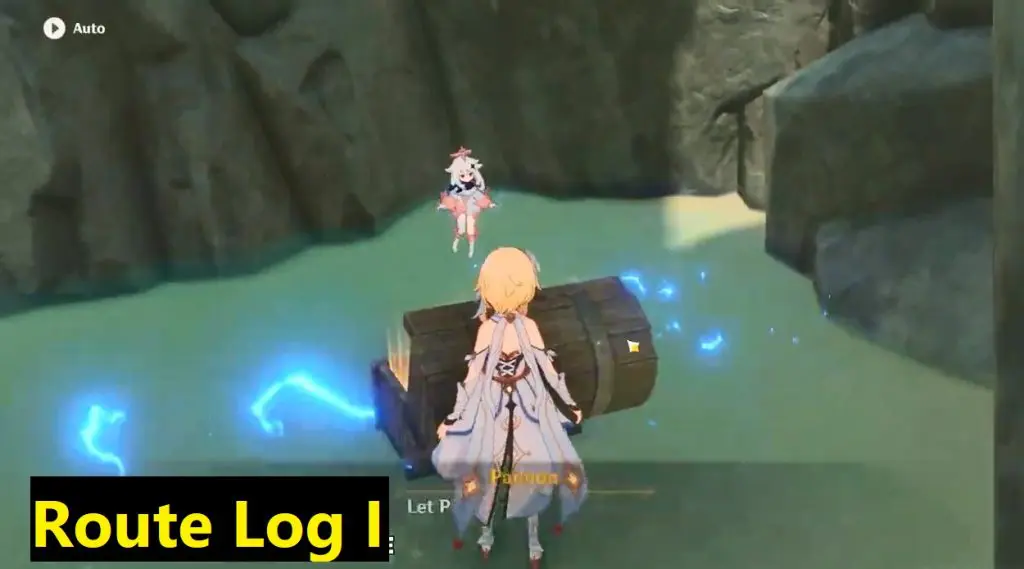
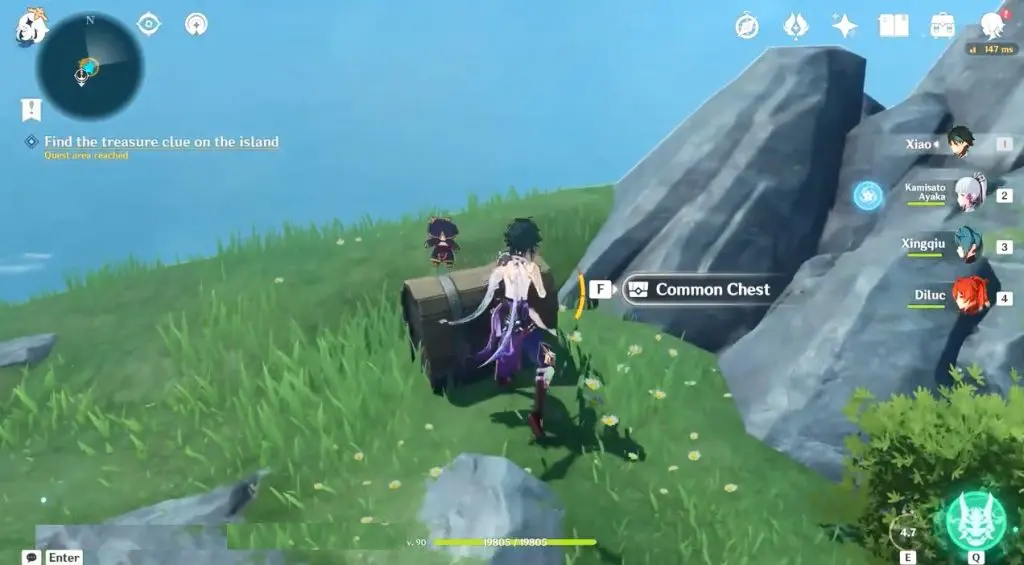
First, travel to a remote island east of the Pudding Isle and defeat all the enemies on the island. Open a common chest on the island to collect “Route Log I”. It will trigger “The Treasure of the Four Skerries” quest along with five other quests that are part of this quest.
To complete this objective you need to complete below four quests that will help in finding the four parts of the clues to the treasure.
1. Treasure Clue: Broken Isle
2. Treasure Clue: Twinning Isle
3. Treasure Clue: Minacious Isle
4. Treasure Clue: Pudding Isle
5. Where the Treasure Dwells
Where the Treasure Dwells
Collect the four parts of the clues to the treasure (X/4)
As the quest starts, you need to collect the four parts of the clues to the treasure. Do all the Treasure Clue quests to complete this objective.
Treasure Clue: Pudding Isle
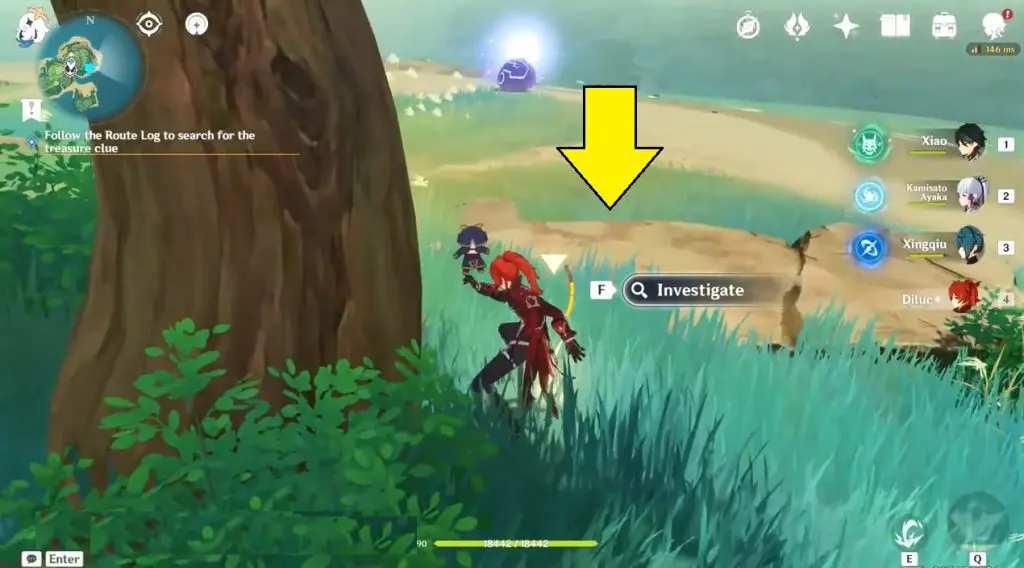
Follow the Route Log to search for the treasure clue
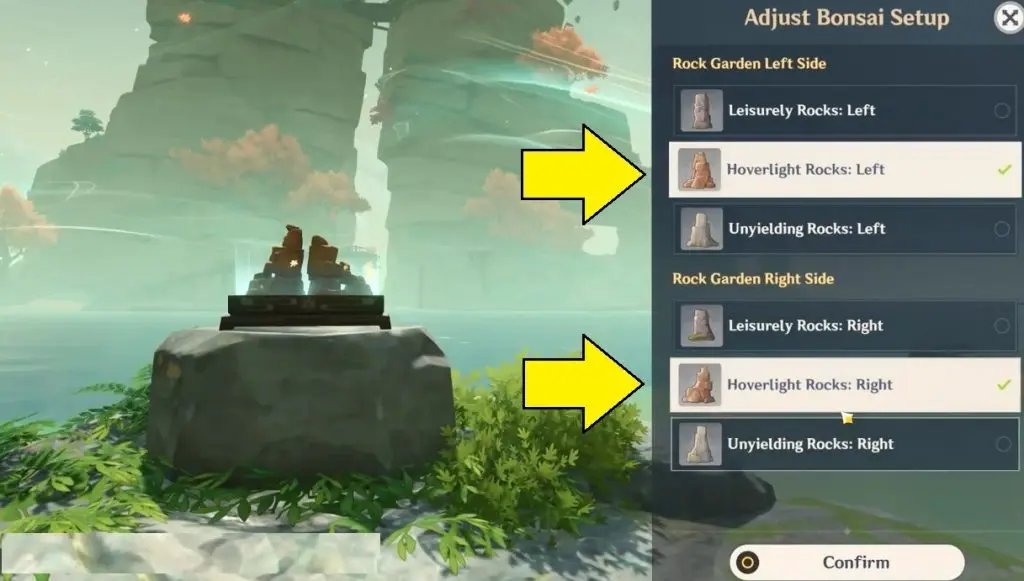
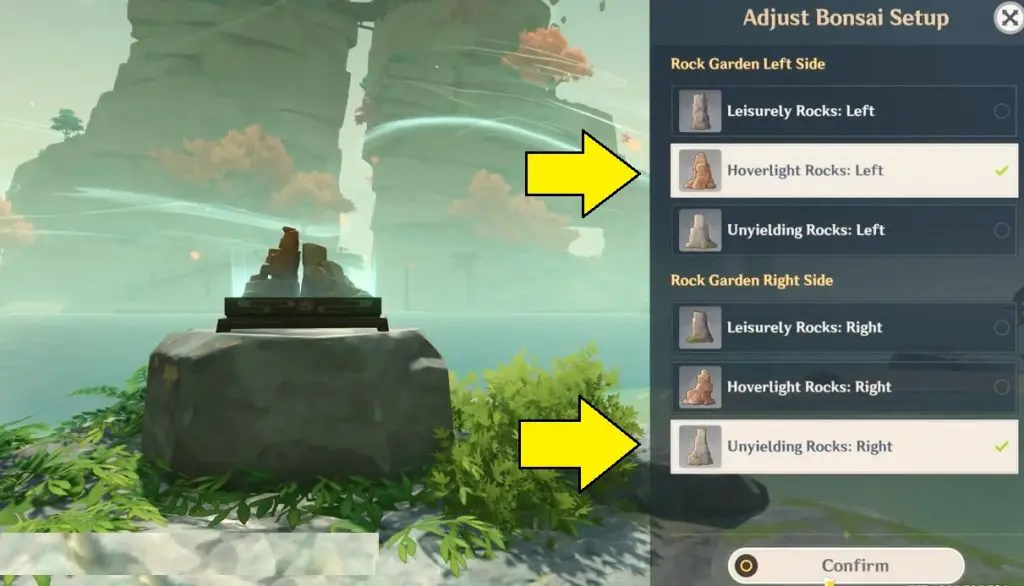
As the quest start, go to the bonsai island north of Pudding Isle and change the stone formation on both sides of the bonsai. Select Choose “Hoverlight Rocks: Left” and “Leisurely Rocks: Right”.
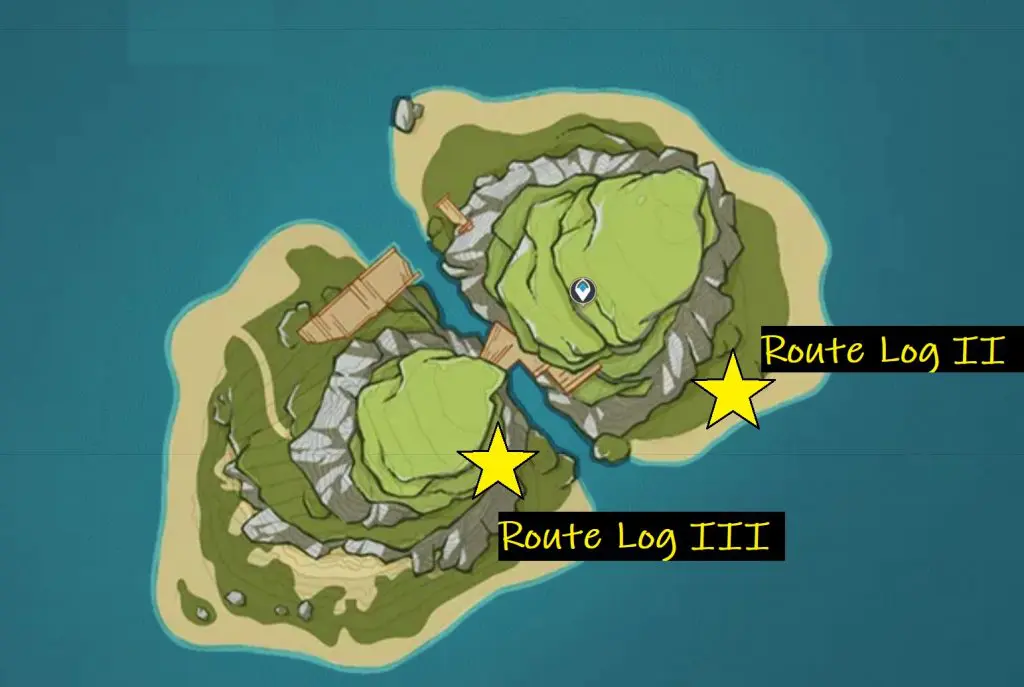
Go to the top of the main island of Pudding Isle and glide down on the south-eastern side as marked on the map. Collect “Route Log II” beneath a maple tree.
After the cutscene, go to the bonsai island again to change the stone formation on both sides of the bonsai. Select Choose “Hoverlight Rocks: Left” and “Unyielding Rocks: Right”
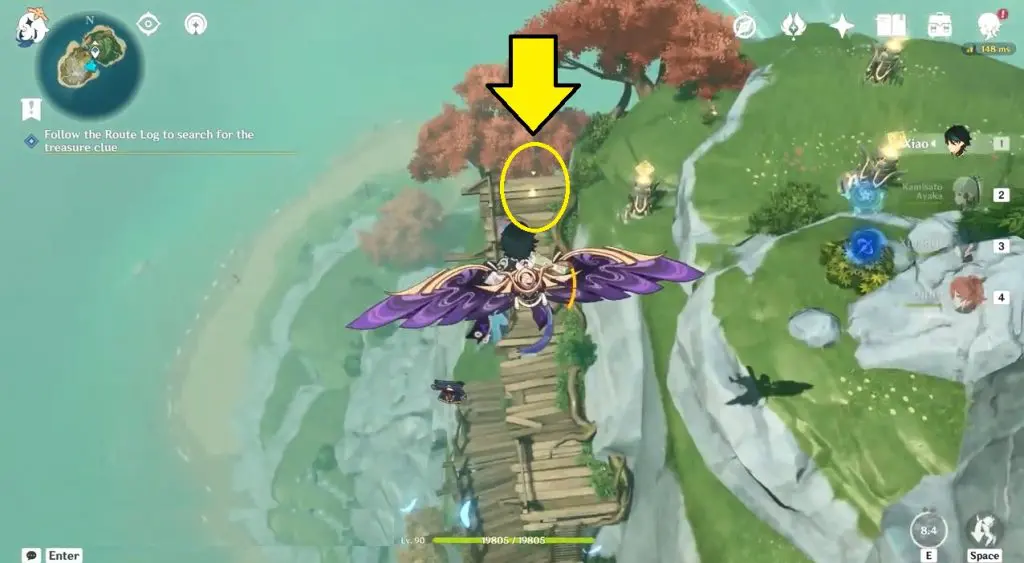
Travel to the top of the main island of Pudding Isle and glide down on the south-western side. Collect “Route Log III” from a wooden platform. This will end the Treasure Clue: Pudding Isle quest. Refer to the above map for the exact location.
Treasure Clue: Broken Isle
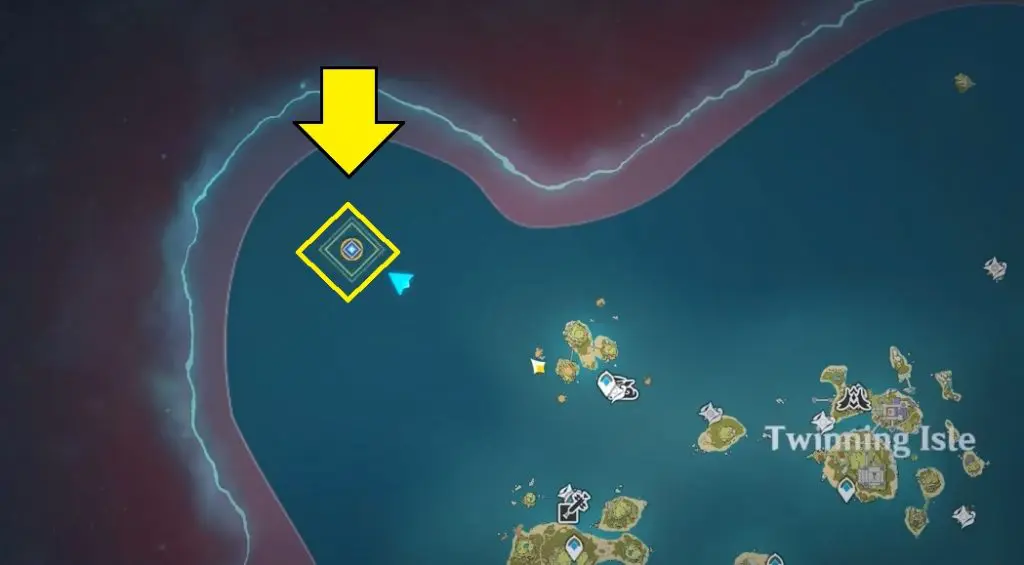
Go to the reef near Broken Isle
Use the Waverider to travel to the marked location northwest of Broken Isle.
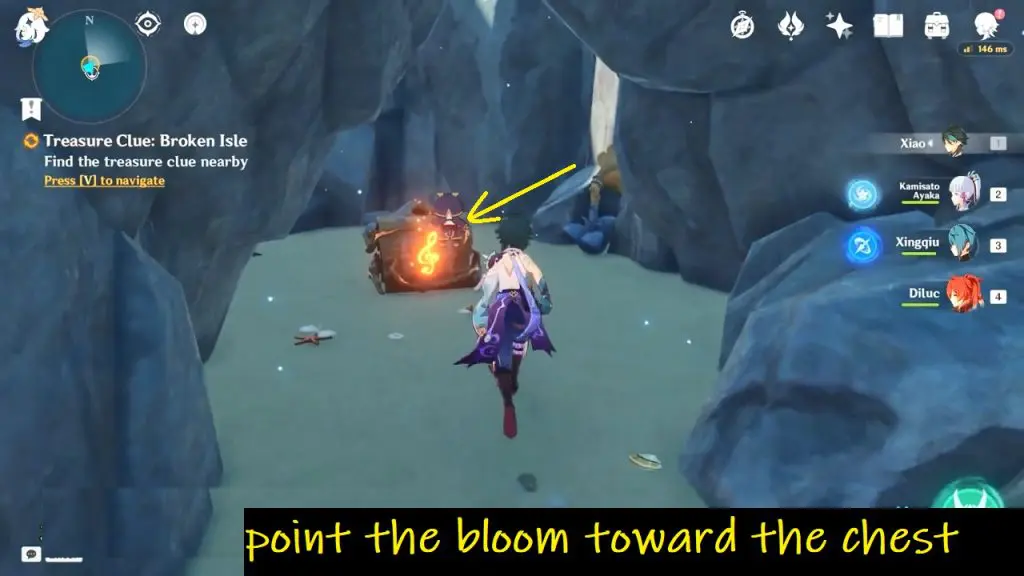
Find the treasure clue nearby
On the island, adjust the harmonic blooms and hit the Harmonic Harp to unlock the common chest. To remove the seal from the chest, look at the images below.
- Adjust the bloom near the chest to point toward the chest.
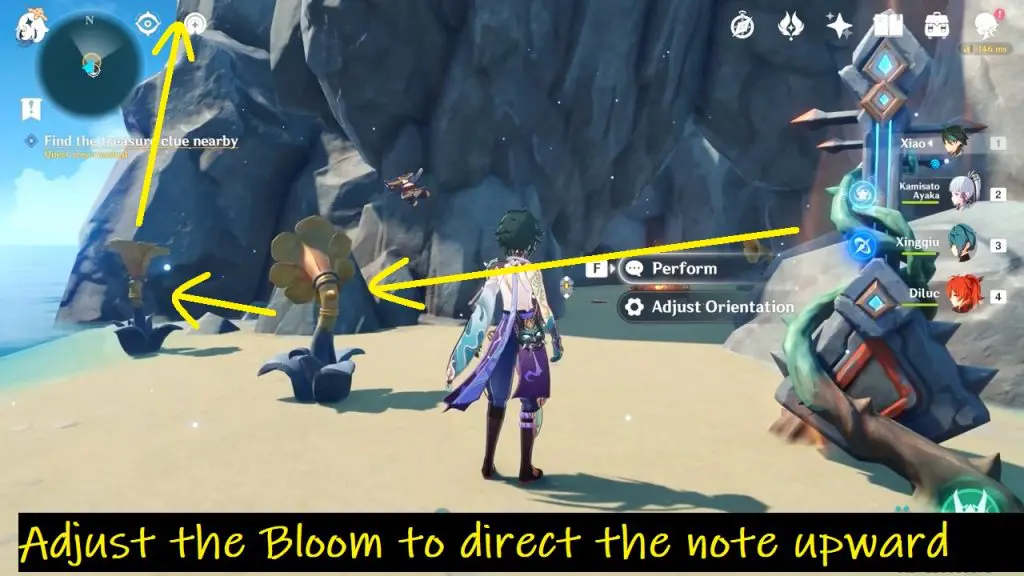
- Adjust the two blooms outside as per the image, it should point the notes up the rock.
Climb up the rock. On the top, adjust only 1 bloom to point down the hall.
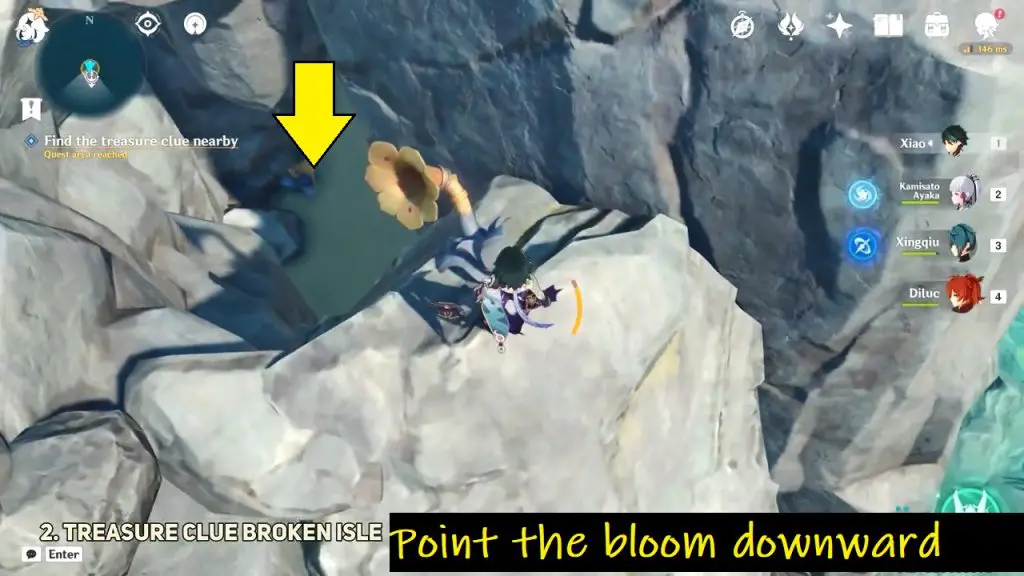
Finally, hit the harmonic harp to unlock the chest and Collect Ako’s Treasure: Location 1.
Treasure Clue: Twinning Isle
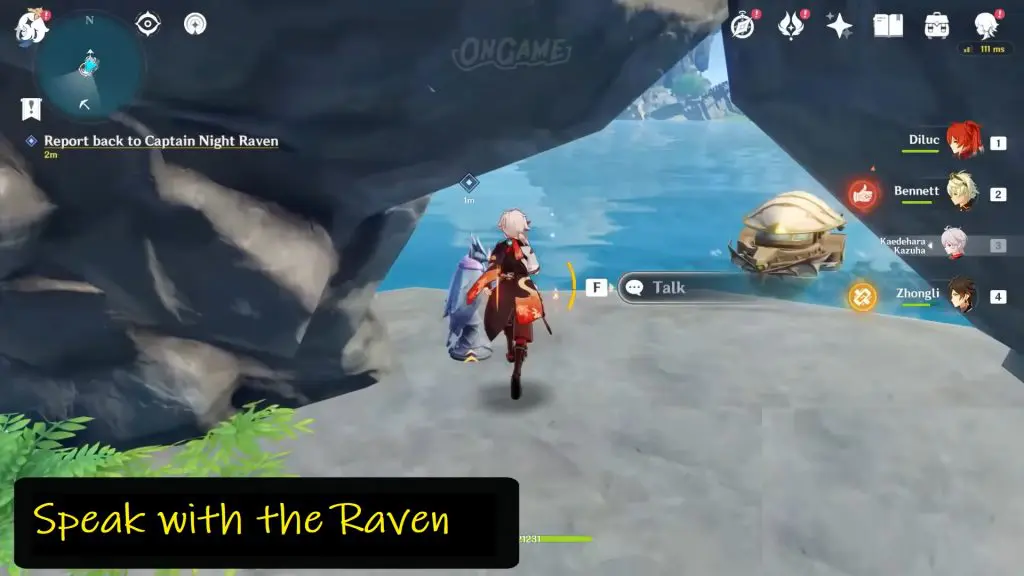
Use the waverider to travel to the marked location northeast of Twinning Isle. Talk to the raven statue on the island to start the quest.

Help Captain Night Raven get rid of the hilichurls
Drop down and defeat all the enemies on the island.
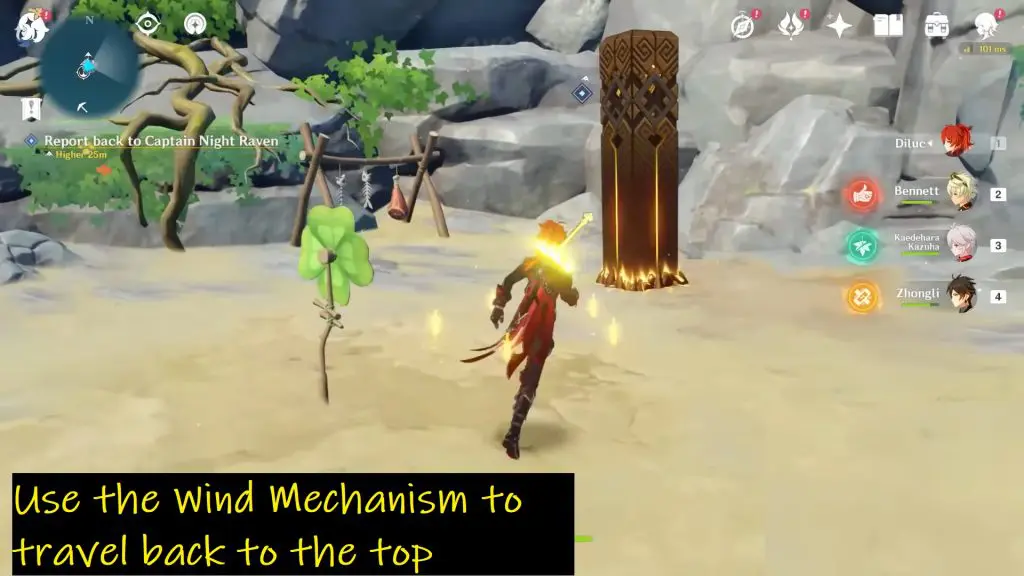
Report back to Captain Night Raven
Use the Wind Mechanism to create a wind current and use it to travel back to the top and speak with Captain Night Raven.
Talk to Captain Night Raven
Climb to the top of the island and speak with Captain Night Raven.
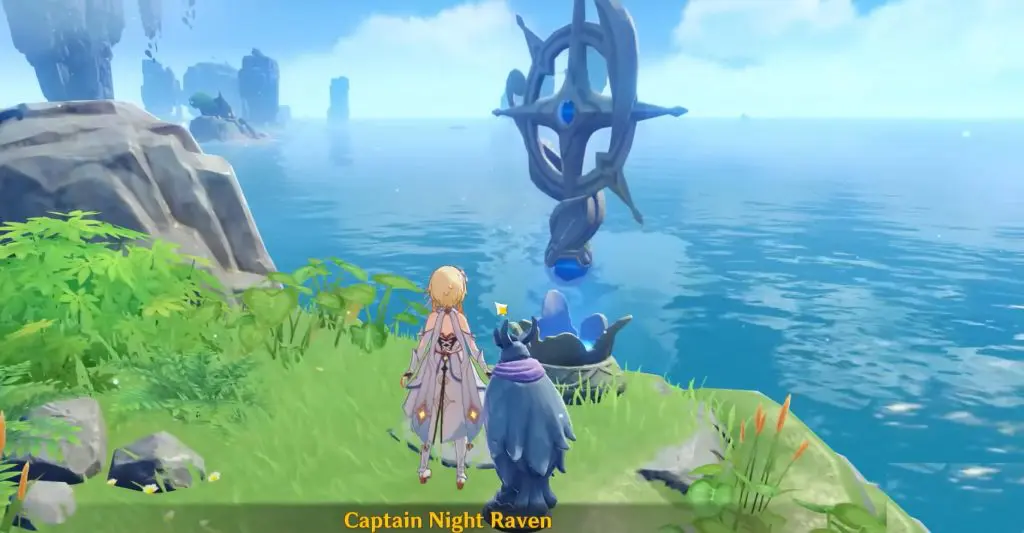
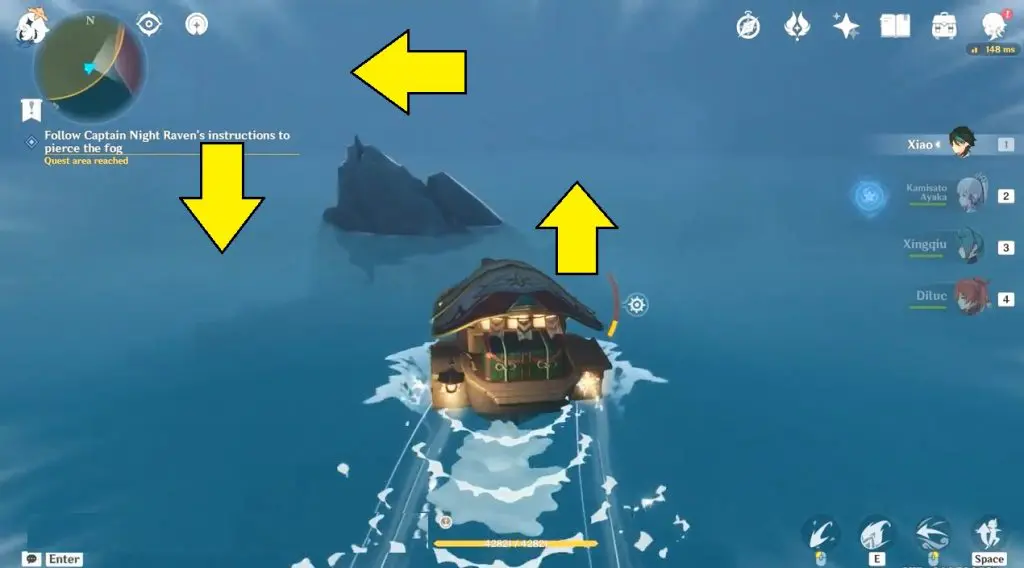
Follow Captain Night Raven’s instructions to pierce the fog
Ride the waverider and head north from the current location and pass through the rocks in a given pattern.
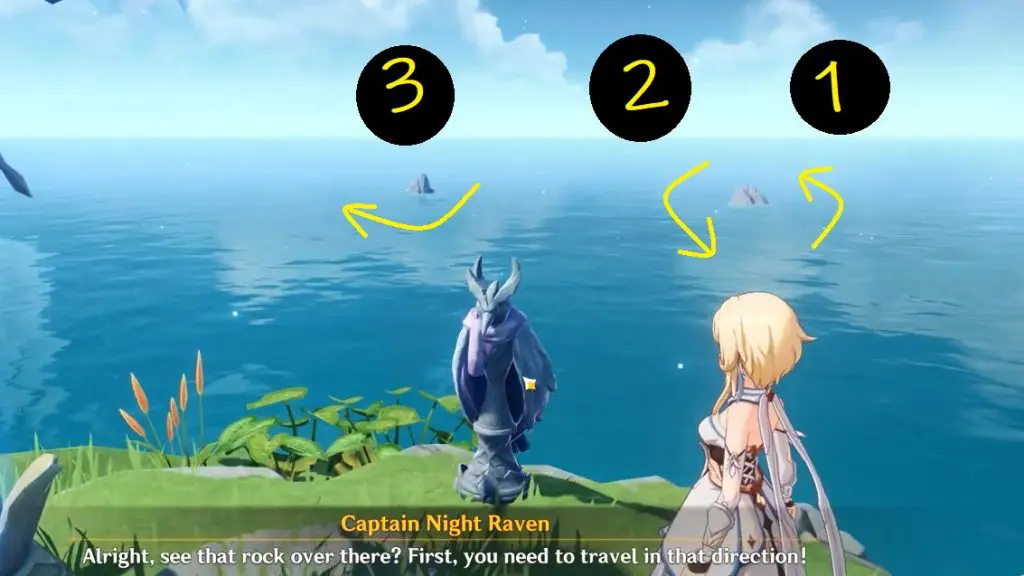
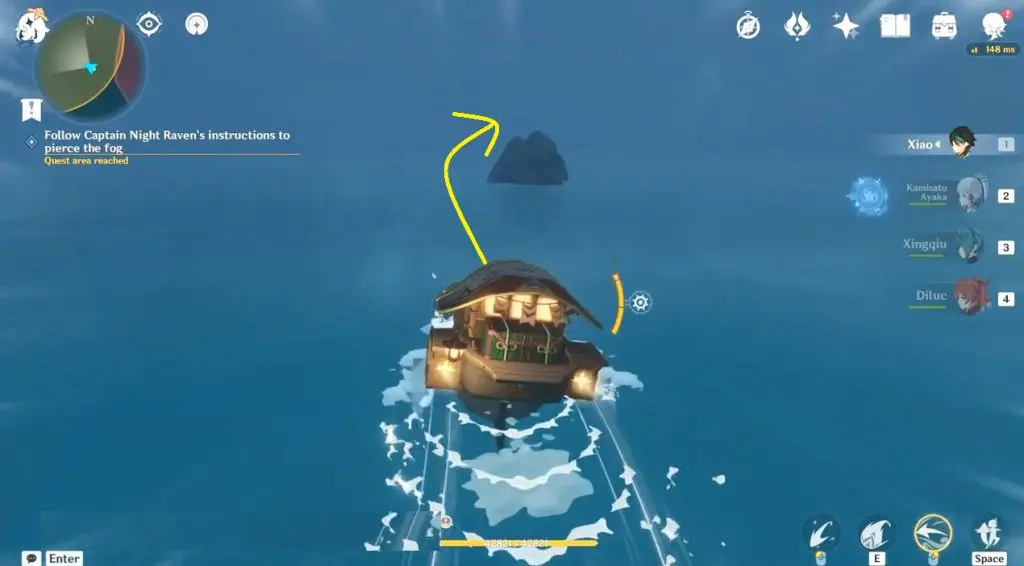
Rock #1 on the Right: Get around it from the right and then turn back from the left.
Rock #2 on the Left: Pass the rock from the left.
Rock #3 Pass through the rock and it will disappear.
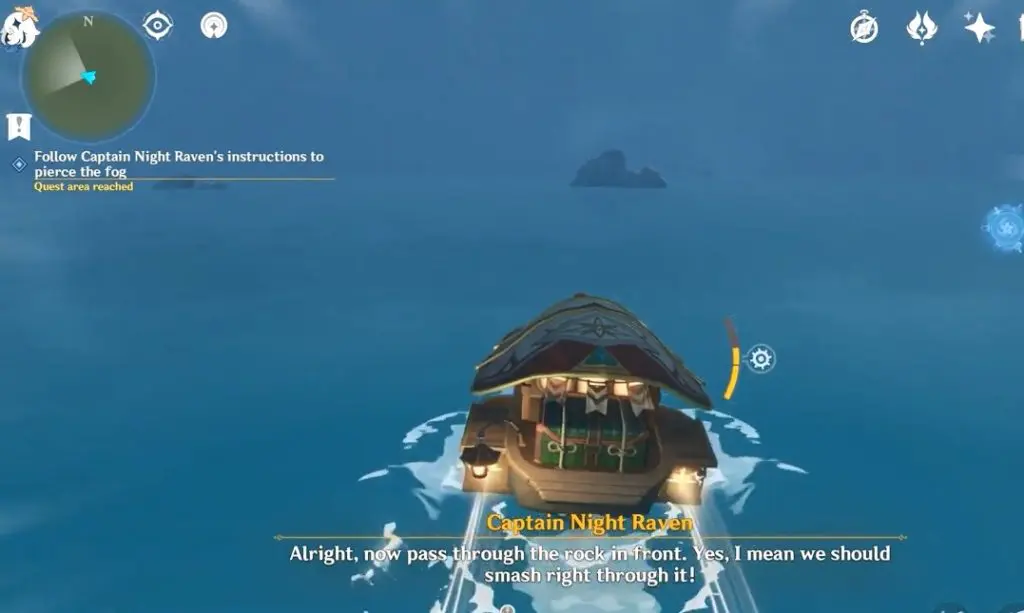
Rock #4 Smash the little rock and take an immediate left
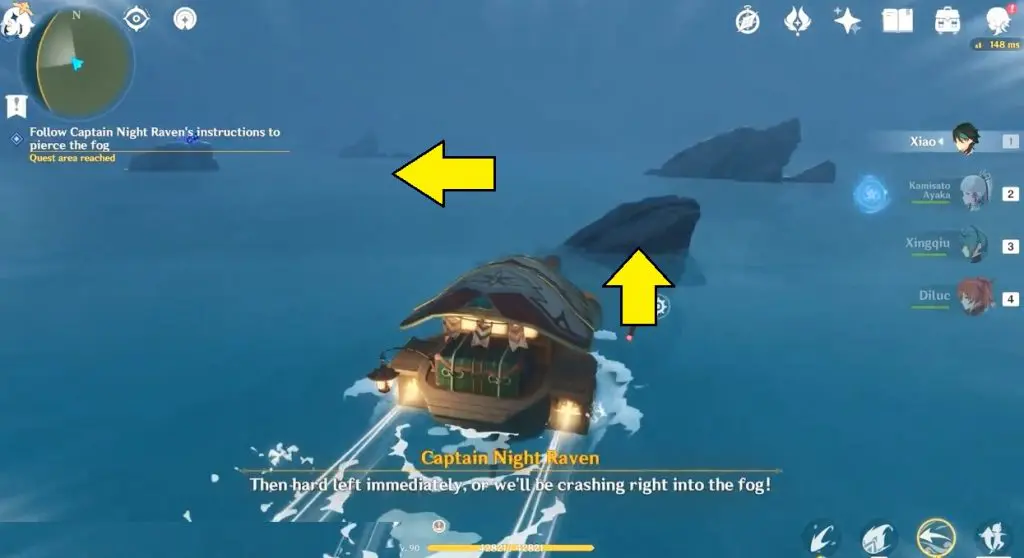
Rock #5 Pass the rock from the left side.
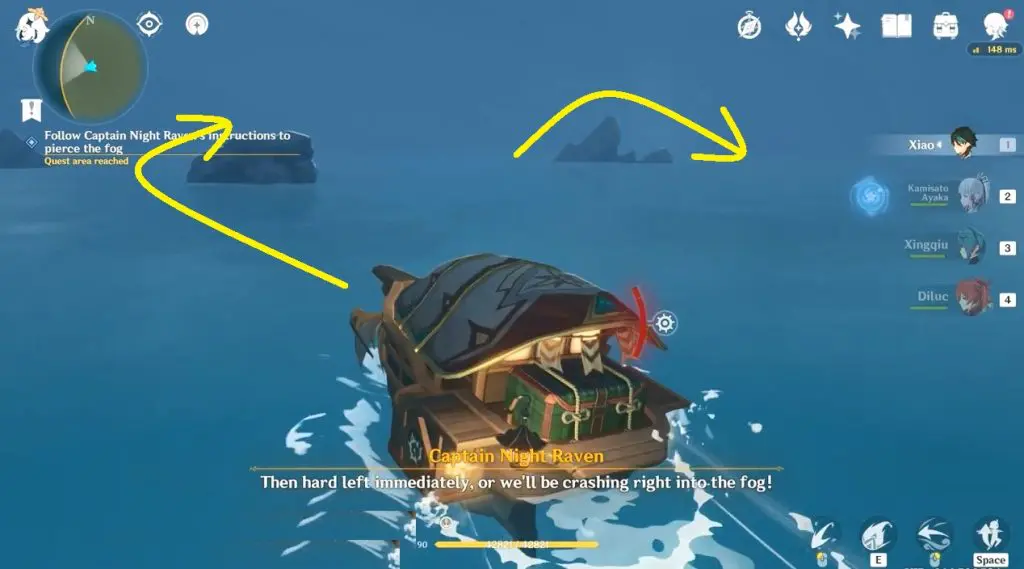
It looks like you need to pass three rocks from the left minimum to complete the objective. You have to keep on following Captain Night Raven on how to go around the rocks.
Find the treasure clue on the island
Finally, head back to the bigger island. Climb to the top of the island to collect Ako’s Treasure: Location 2
Treasure Clue: Minacious Isle
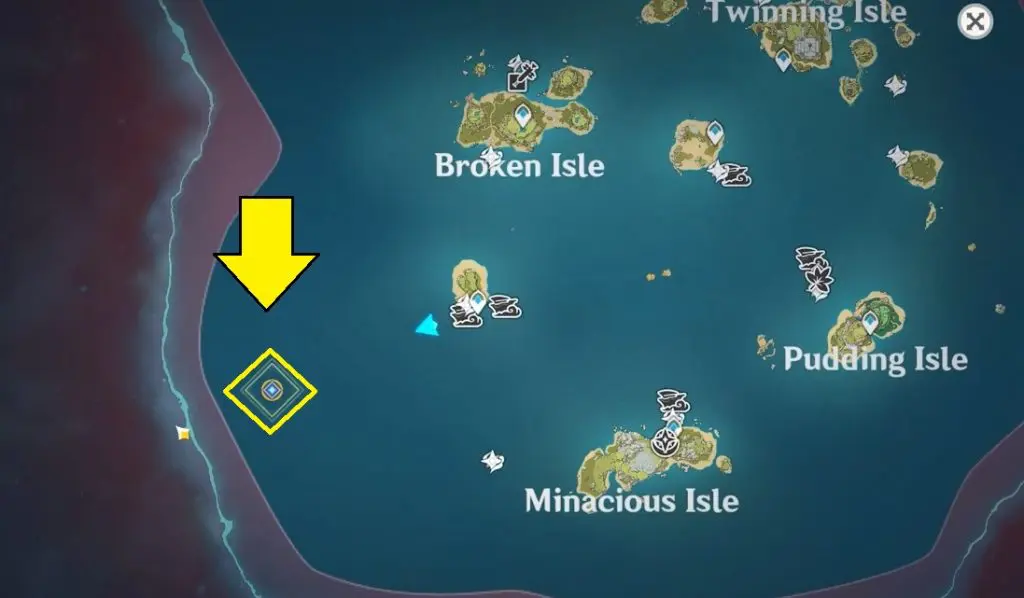
Go to the reef near Minacious Isle
Use the waverider to travel to the marked location west of Minacious Isle. Climb up the island and enter inside. Smash the breakable rocks to collect “Sea Route Log”.
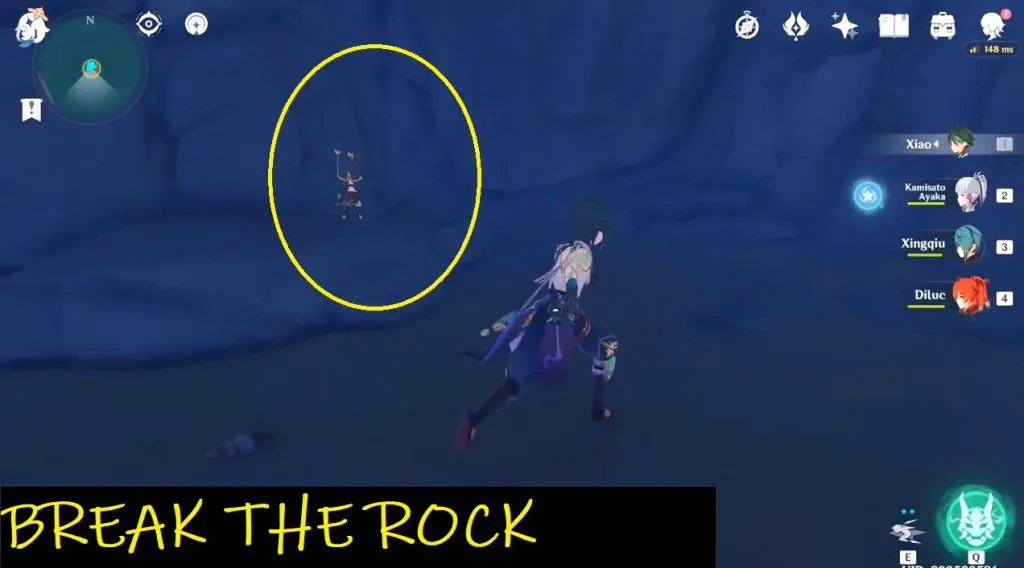
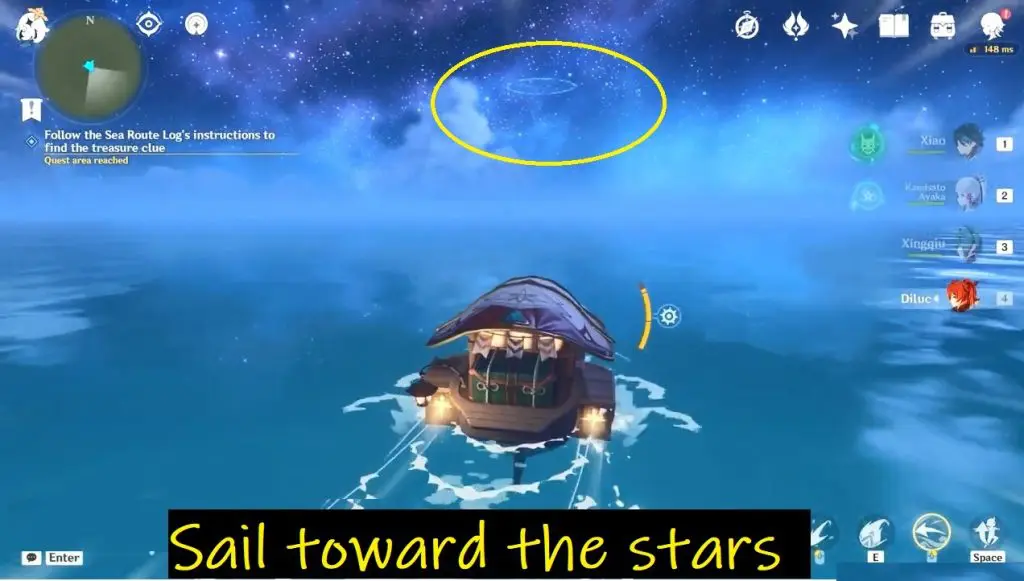
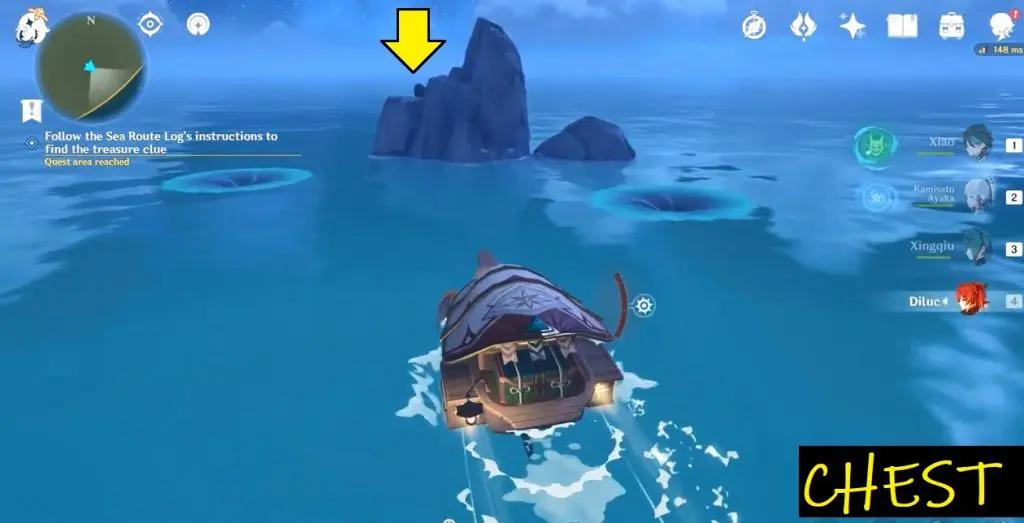
Follow the Sea Route Log’s instructions to find the treasure clue
Look up into the sky and go toward a constellation of stars until you find a rock with two whirlpools around it. Climb the rock to get the next clue – Ako’s Treasure: Location 3
Where the Treasure Dwells
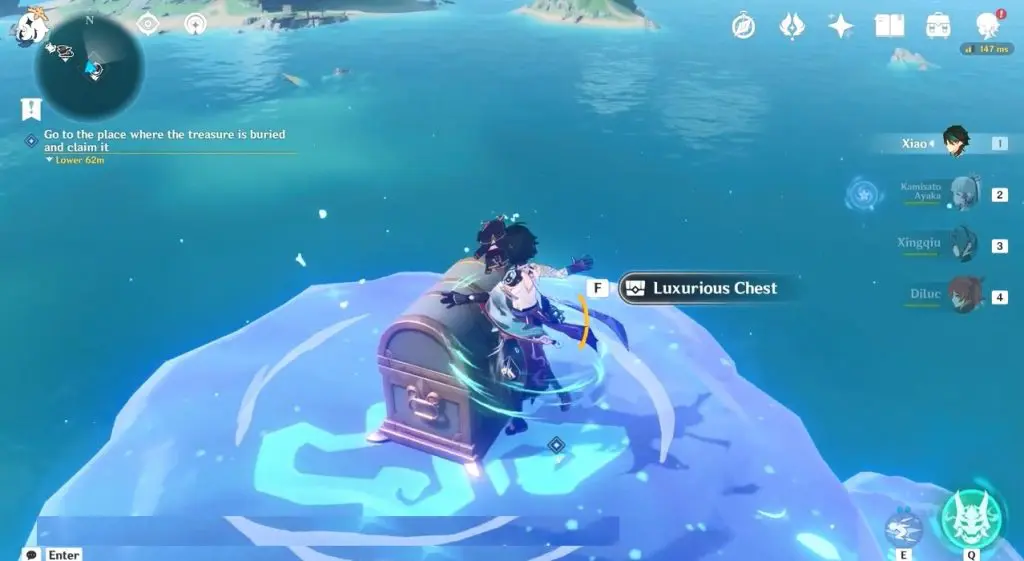
Go to the place where the treasure is buried and claim it
Once you have all four parts of the clues, the game will provide you with the final treasure map after the cut scene.
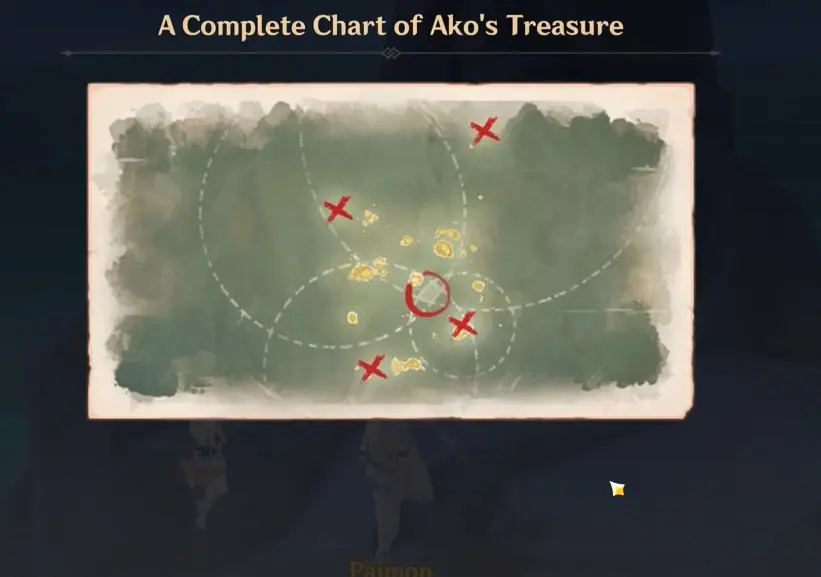
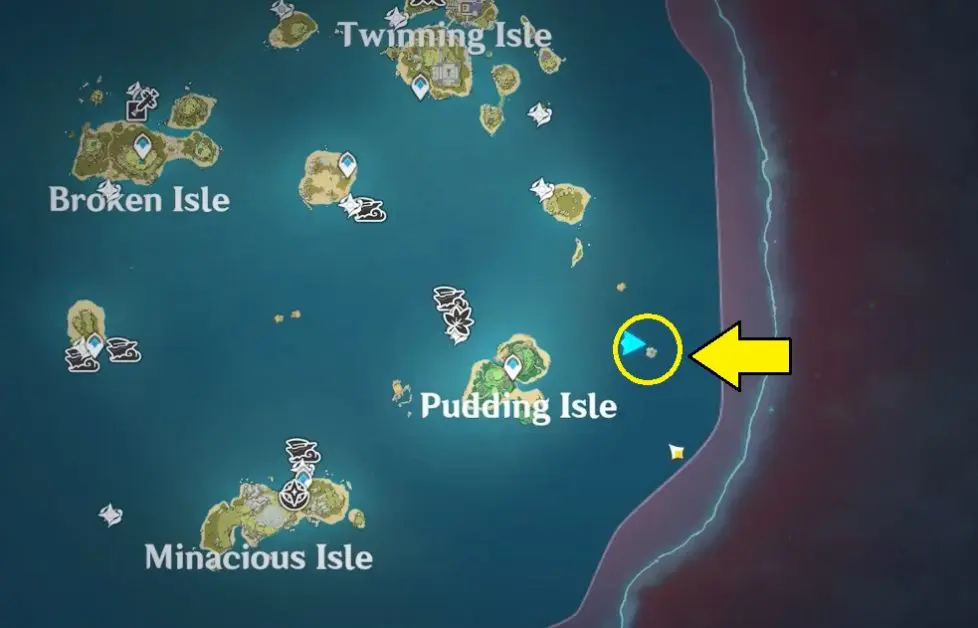
This is the location where the four circles meet and you can find the luxurious chest. I have marked the location below.
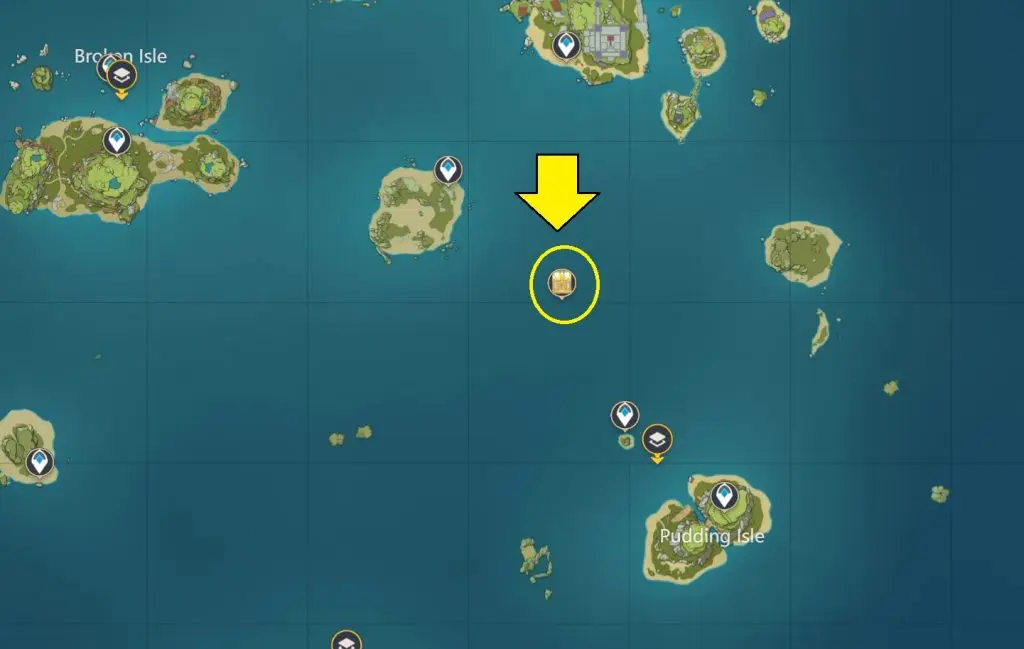
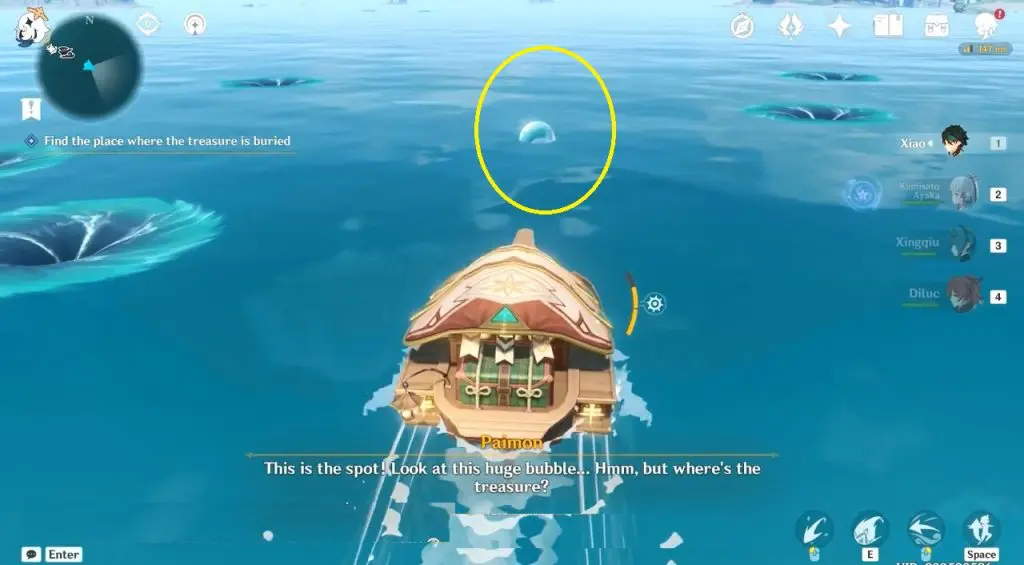
Head to the location to find multiple whirlpools and investigate the bubble. This will trigger a new Clouddleisure Puzzle.
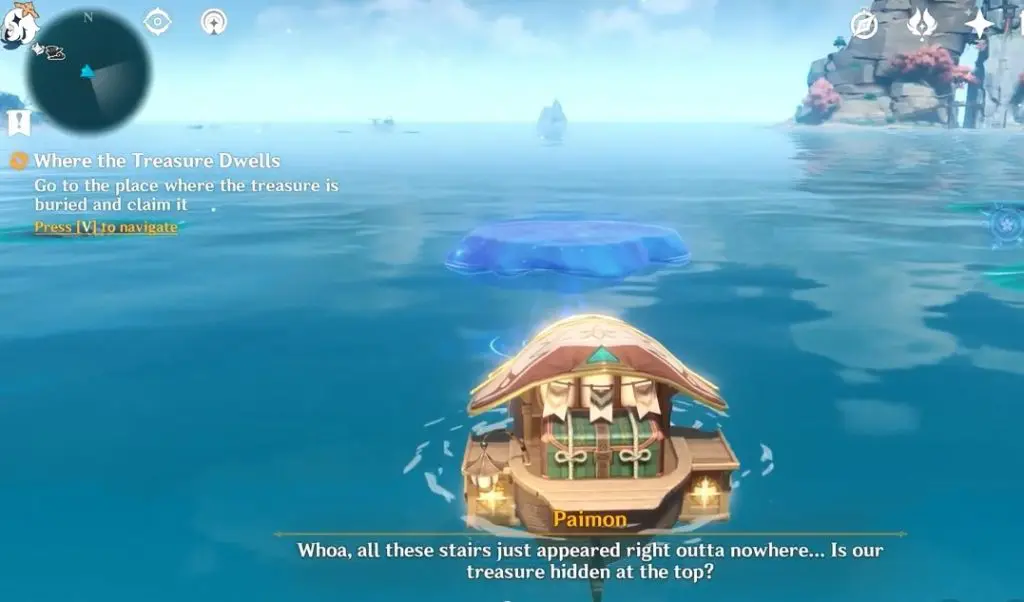
Hop on to the Clouddleisure steps to reach the top to find a Luxurious chest.